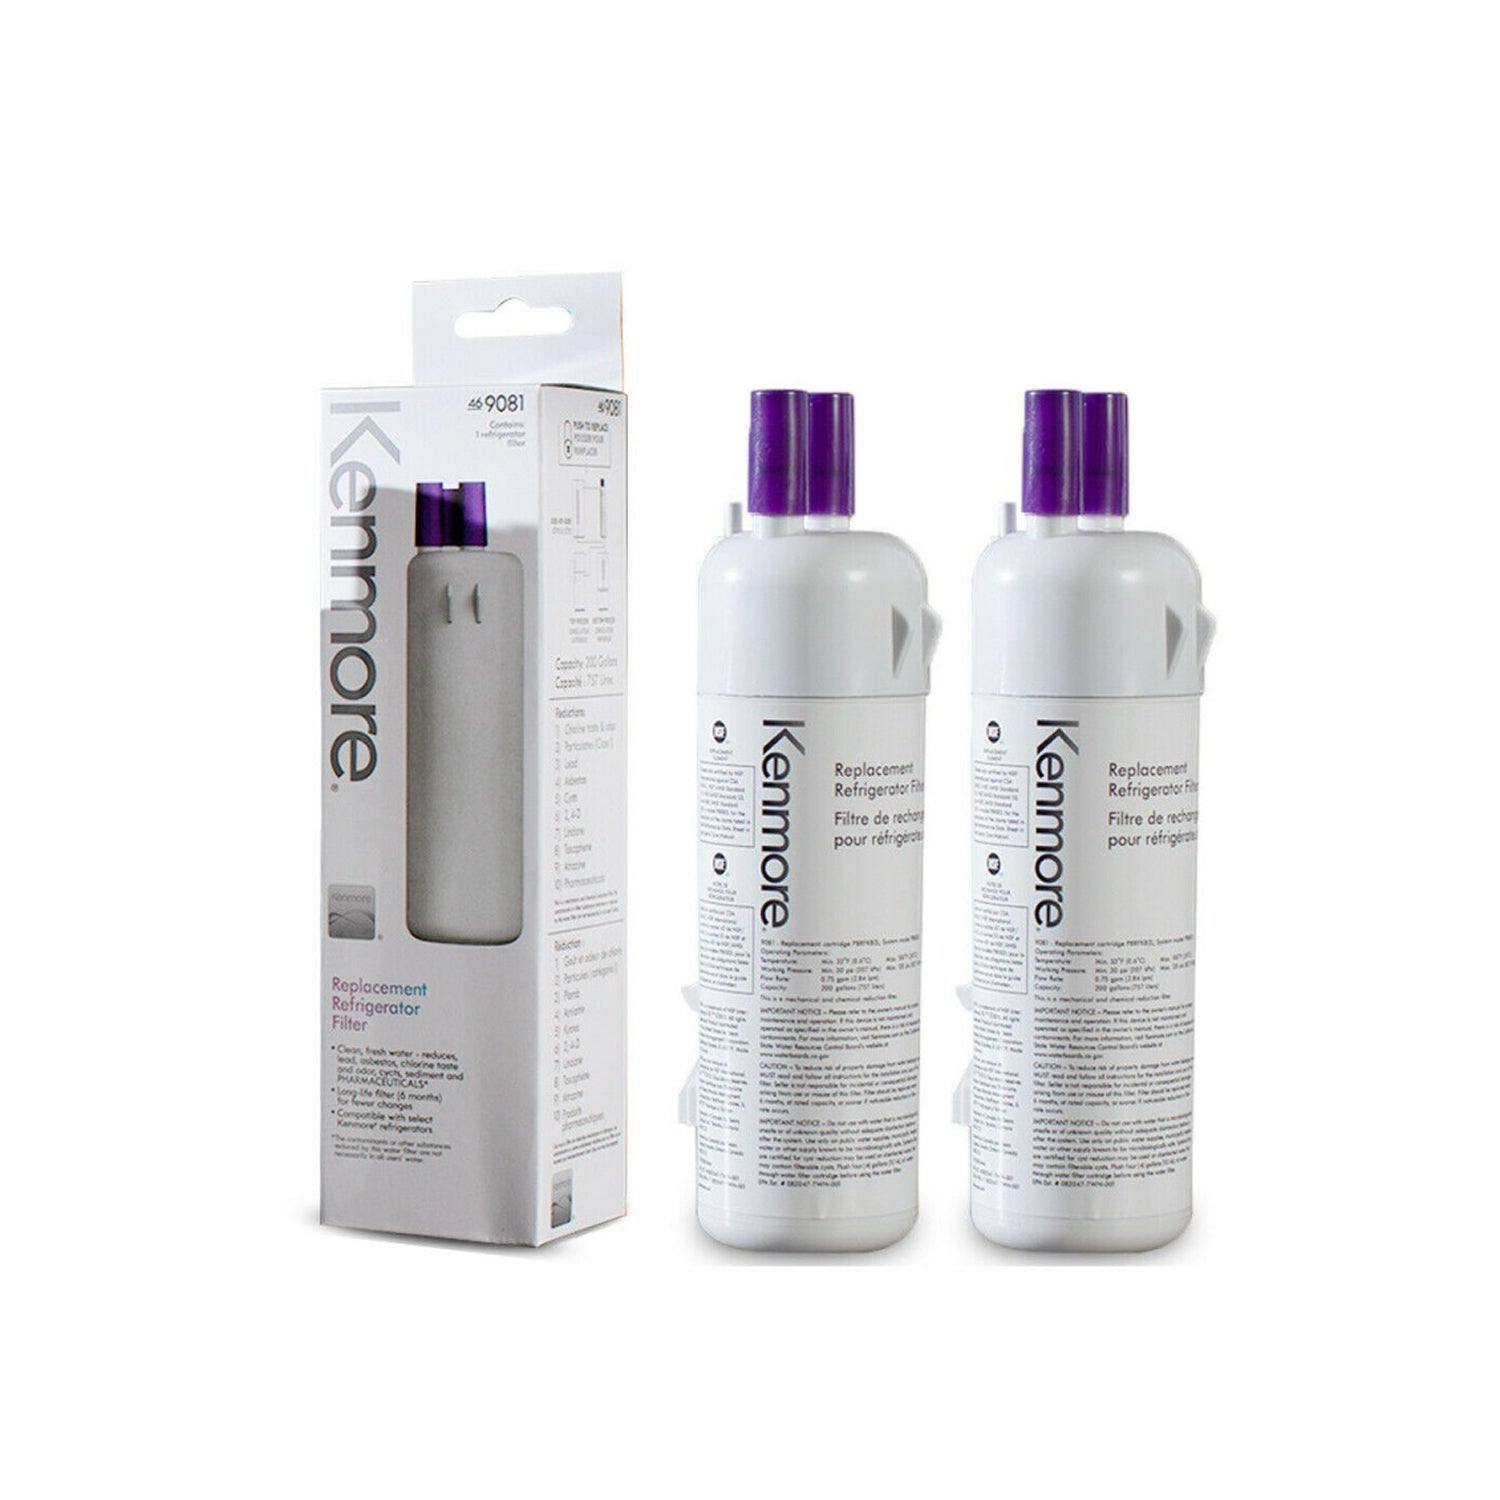
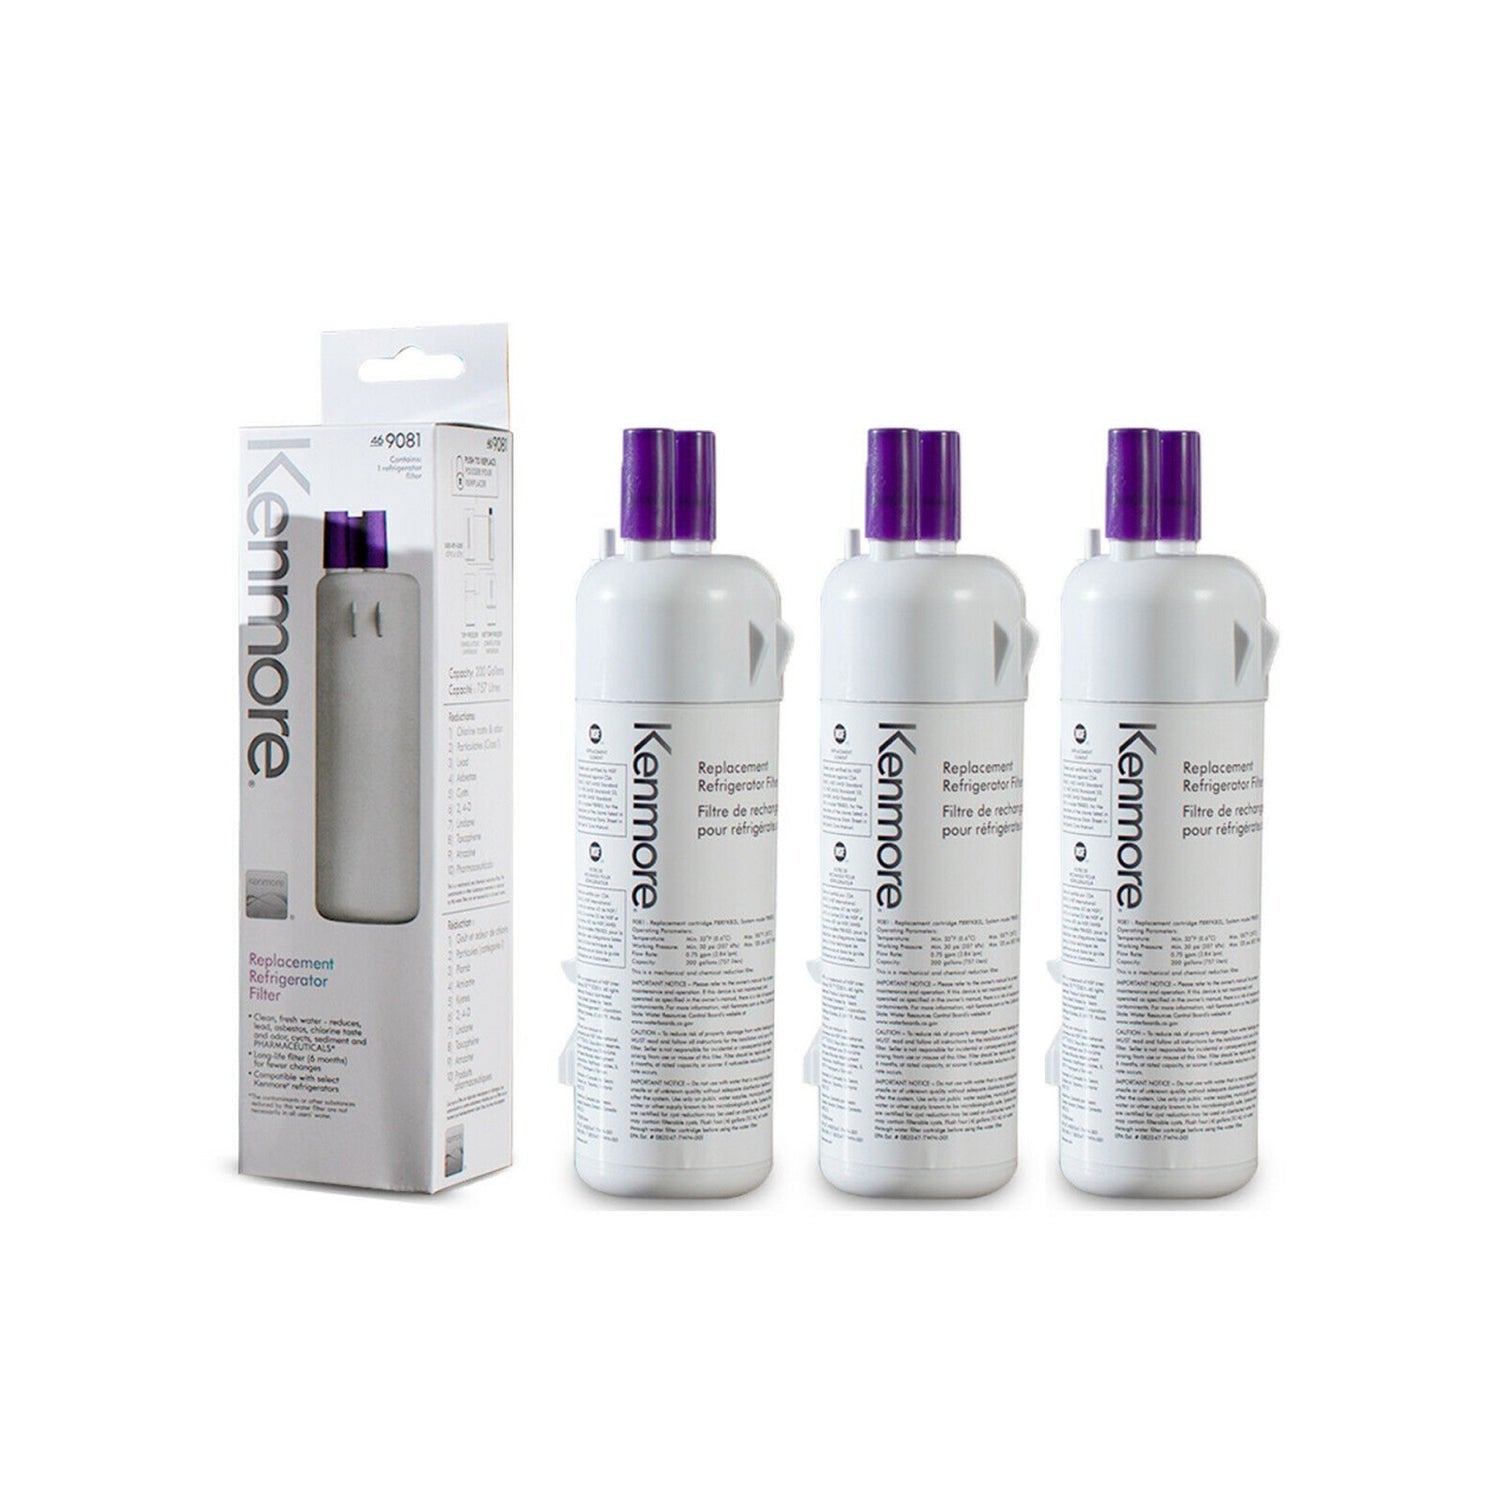
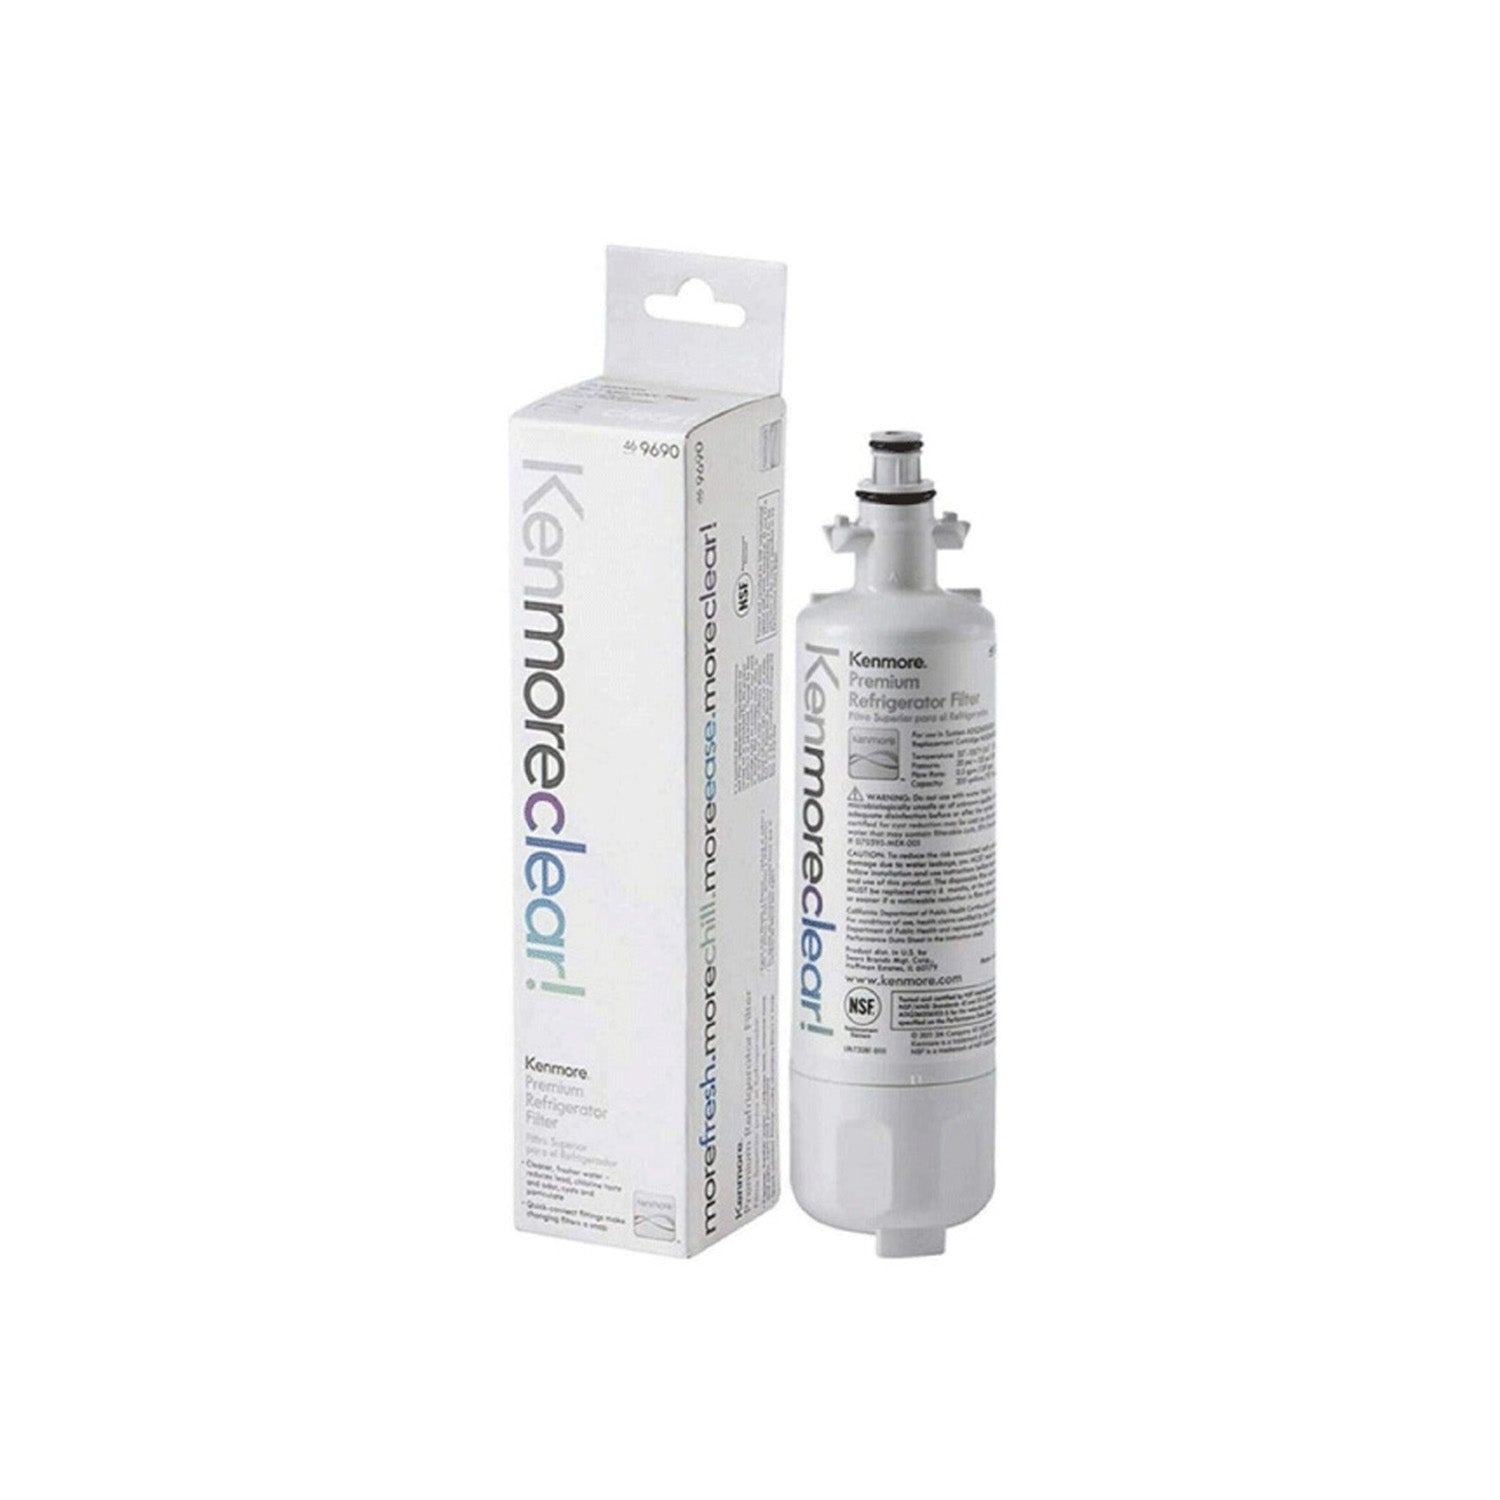
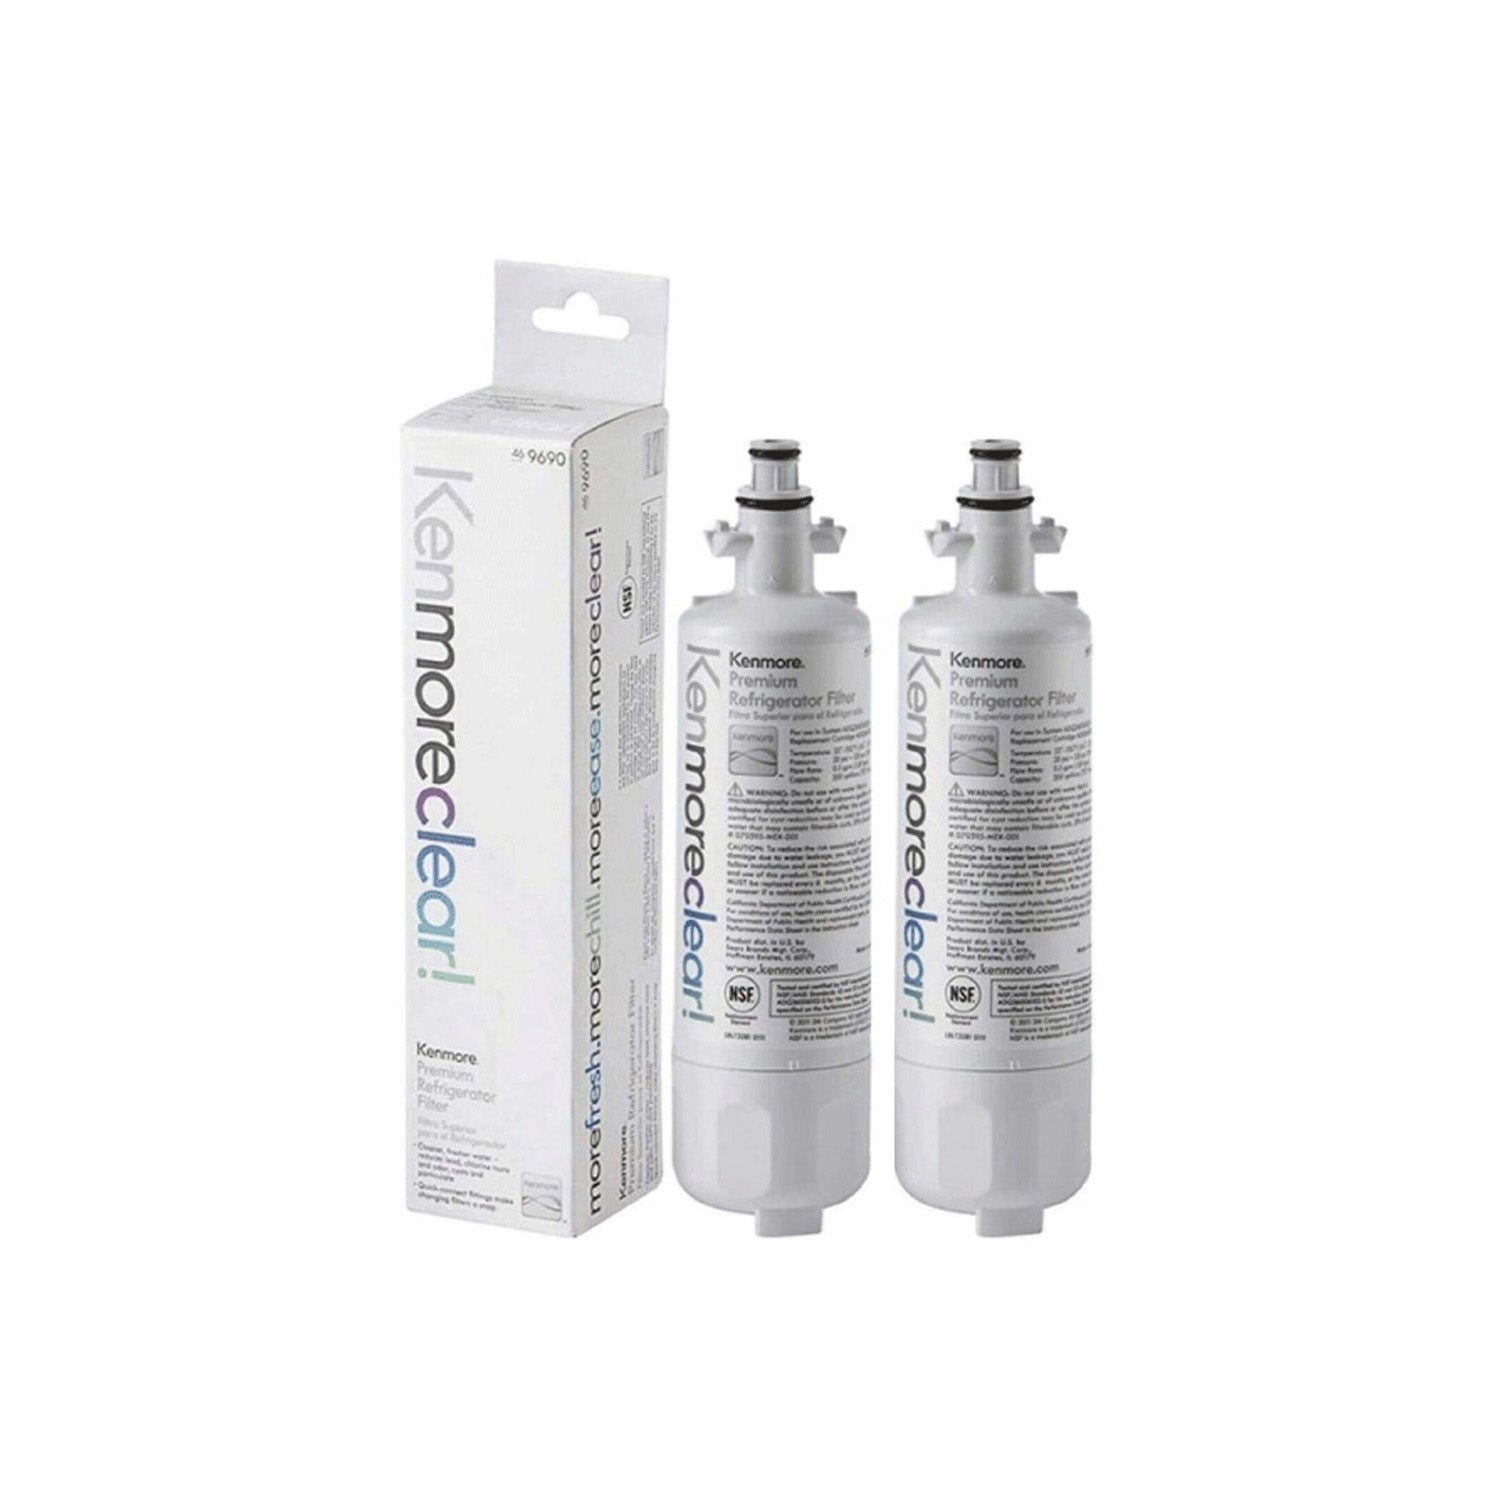
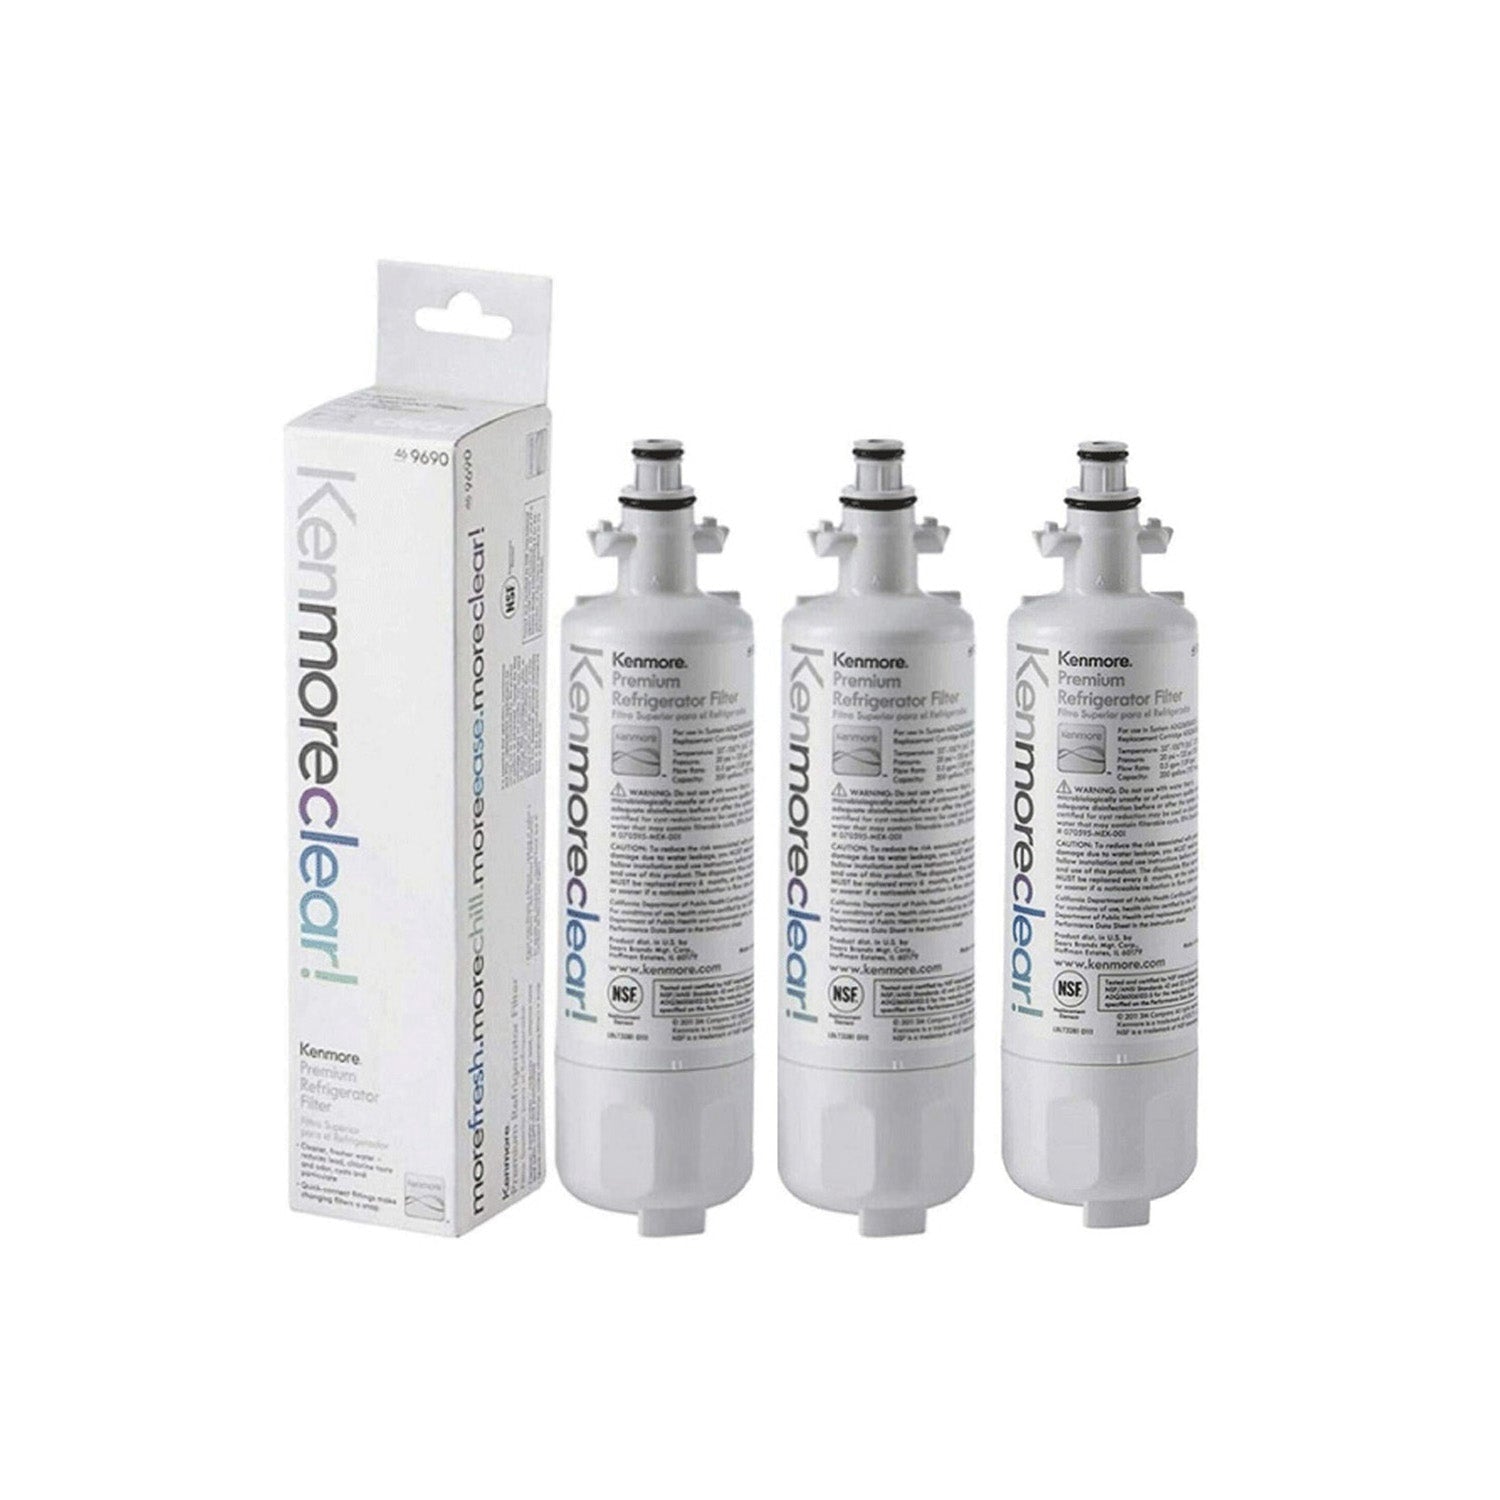
Dirty water filter housing can lower water quality and slow down refrigerator performance over time when buildup collects inside the unit. Sediment and residue can block flow and place stress on the system parts over time with regular daily use cycles. Cleaning the housing helps keep water moving and supports steady ice and water output from the refrigerator system through consistent care at home routine use. This guide explains simple steps to clean and maintain the housing safely at home with clear actions and easy tools you can use today.
How Cleaning the Refrigerator Water Filter Housing Supports Better Water Quality
The housing that secures your refrigerator’s water filter cartridge serves as the connection point between the filter and the water line, making routine cleaning essential for removing sediment, mineral buildup, and biofilm that can collect inside. Keeping this area clean helps maintain steady water flow, allows the filter to operate more efficiently, and reduces unnecessary wear on seals and connection components.
When maintenance is overlooked, contaminants can accumulate over time, potentially leading to unpleasant tastes, discolored water, and conditions that may encourage bacterial growth. A clean filter housing is a simple maintenance step that helps protect water quality, reduces the risk of leaks, and can help extend the lifespan of both the filter and related parts.
Why Routine Housing Maintenance Supports Cleaner Water and Longer Filter Performance
Keeping the filter housing clean helps eliminate accumulated sediment and mineral deposits that can restrict water movement and interfere with effective filtration. This cleaning process restores proper flow conditions, allowing the cartridge to operate as intended and capture contaminants more efficiently.
Removing biofilm buildup from interior surfaces also limits the growth of microorganisms that can persist inside the system and affect water quality even after a new cartridge is installed. A well-maintained housing places less strain on the filter media by reducing unnecessary pressure buildup, which can extend cartridge lifespan and decrease replacement frequency.
Over time, this simple preventive maintenance helps maintain steady filtration results, minimizes blockage issues, and lowers the likelihood of wear-related problems affecting seals, connections, and other system components.
Health Consequences Linked to Poor Filter Housing Maintenance
If filter housings are not routinely inspected, biofilm and microbial layers can gradually form on internal surfaces, raising the likelihood of bacteria appearing in dispensed drinking water and ice. Over time, mineral deposits and trapped debris may develop into protected areas where microorganisms survive, while damaged or worn O-rings can permit untreated water to bypass the filter cartridge.
In addition, stagnant organic buildup can contribute to unpleasant tastes and odors within the system. Should you notice unusual taste, odor, visible particles, or persistent cloudiness after a cartridge replacement, the housing itself should be considered a possible contamination source and thoroughly cleaned and sanitized before reuse.
Awareness of these hazards helps determine the proper cleaning agents and tools needed to maintain safe and effective system performance.
Hygienic Design Strategies for Controlling Microbial Growth in Cooling Systems
Poor hygienic design in air conditioning and refrigeration systems, combined with weak cleaning and disinfection practices, can lead to serious economic damage and increase the risk of disease transmission among workers, visitors, and food consumers.
This paper therefore examines microbial control strategies in refrigeration environments, with emphasis on Legionella management, limitations of biocides embedded in plastic components used in cooling towers and air ducts, and broader hygienic design approaches for evaporative cooling systems and food-processing air systems, including UV treatment, essential oil aerosols, and air filtration technologies.
Which Equipment and Cleaning Products Are Best for Refrigerator Filter Housing Maintenance?
Properly cleaning a refrigerator filter housing only requires a few basic tools and safe cleaning solutions selected to protect plastic components, seals, and the food-storage environment. Useful tools include a correctly sized housing wrench for removal, a soft-bristle brush for cleaning interior surfaces, microfiber cloths or absorbent towels for drying, and a bucket for collecting rinse water.
Suitable cleaning products include white vinegar to dissolve mineral buildup, mild dish detergent for everyday residue, and a diluted unscented bleach solution for sanitizing when bacterial or mold growth is a concern, each requiring proper dilution and thorough rinsing afterward. Protective gloves and safety glasses are also advisable when using stronger disinfectants to reduce exposure and help keep food-contact areas free from chemical residue.
For a straightforward and safe cleaning process, keep the following items on hand and understand their purpose during maintenance.
-
Housing wrench: Helps remove the housing safely while reducing the risk of damage.
-
Soft-bristle brush: Cleans away deposits and buildup without scratching surfaces.
-
Bucket and absorbent cloths: Manage water spills and maintain a tidy work area.
-
Food-safe silicone lubricant: Conditions O-rings to improve sealing performance and simplify reassembly.
Having these essentials ready makes refrigerator filter housing cleaning more efficient, organized, and reliable. The following section reviews common cleaning solutions to help determine the most appropriate option for routine cleaning or sanitization needs.
Cleaning solutions differ in cleaning strength, material safety, and intended use. The table below outlines widely used options, recommended dilution levels or contact times, key advantages and disadvantages, and important safety considerations to support proper housing maintenance.
Cleaning Solutions and Recommended Usage for Water Reservoir Maintenance
|
Cleaning Solution |
Suggested Mix / Soaking Duration |
Benefits |
Drawbacks |
|
Distilled White Vinegar |
Combine with water at a 1:1 ratio and soak for 10–20 minutes |
Helps dissolve mineral buildup effectively; food-safe and the smell fades after rinsing |
May not fully remove heavy biofilm unless paired with scrubbing |
|
Fragrance-Free Household Bleach |
Mix 1 tablespoon (about 15 mL) per gallon of water; soak for 2–5 minutes to disinfect |
Powerful sanitizer that works well when contamination is suspected |
Must be rinsed thoroughly; repeated use can damage certain plastics and metals |
|
Gentle Dishwashing Liquid |
Add a small amount to warm water and soak for 5–10 minutes |
Safe for regular upkeep and effective at lifting dirt and oily residue |
Does not provide adequate disinfection on its own after contamination events |
Each cleaning option serves a different purpose: vinegar is best for removing mineral accumulation, bleach is intended for disinfection, and dish soap works well for regular maintenance. The safety notes that follow provide key precautions for using these cleaning agents correctly.
For safe cleaning practices, ensure adequate airflow in the workspace, use protective gloves, avoid combining bleach with vinegar, and rinse all components thoroughly to eliminate any remaining residue or odor. Using the lowest concentration that still achieves the desired result can help preserve seals, plastic parts, and other housing materials.
Choosing the Right Cleaner for Filter Housing Care
For cleaning filter housings safely and effectively, several common agents work well depending on the type of buildup present. Food-grade white vinegar is a gentle acidic cleaner that helps break down mineral deposits and release residue where biofilm can accumulate; it is generally safe for plastic housings when followed by a thorough rinse.
A properly diluted bleach solution remains one of the most effective options for disinfecting bacteria and viruses, though it should only be used at the correct concentration and rinsed completely until no bleach smell is detectable. Mild dish detergent is ideal for regular maintenance because it removes dirt, oils, and suspended particles without damaging plastic surfaces or O-rings.
Selecting the appropriate cleaner and confirming material compatibility helps protect housing components while improving cleaning results. Using the right solution for the specific problem whether mineral scaling, everyday residue, or microbial growth can extend equipment life and support reliable system hygiene.
Essential Equipment for Safe Disassembly and Cleaning of Filter Housings
A smooth maintenance process starts with assembling the proper tools before you begin. A correctly sized housing wrench is essential for loosening and tightening without damaging threads or cracking plastic components. Soft nylon or silicone cleaning brushes are useful for removing mineral buildup and biofilm while protecting interior surfaces from scratches.
Microfiber cloths, along with a shallow bucket and a small flashlight, help manage water, improve grip safety, and allow clear inspection of sealing edges and threading. Food-grade silicone grease should be applied to O-rings to maintain flexibility and reduce friction, helping ensure a reliable, leak-free seal.
Having everything ready ahead of time reduces interruptions and lowers the chance of mistakes when putting components back together.
Once the tools are assembled, it is also worth considering replacement parts and cleaning supplies from specialist suppliers to simplify ongoing maintenance. Suppliers such as Water Filters FAST provide compatible housings, O-rings, and sanitizing products that support routine servicing and replacement needs when parts become worn or damaged.
Complete Procedure for Servicing a Refrigerator Water Filter Housing Safely
This guide outlines a clear, step-by-step method for handling the full maintenance cycle of a refrigerator water filter housing, including preparation, removal of components, cleaning, O-ring inspection, sanitizing, rinsing, reassembly, and final flushing. The process is designed to support safe handling while maintaining the integrity of internal fittings and water pathways so the system continues delivering clean, fresh water. Following the steps in the correct order helps reduce the chance of leaks, spills, or improper sealing after reinstallation.
- Turn off the refrigerator’s water supply and prepare the unit for safe servicing.
- Detach the filter housing and carefully remove the installed cartridge.
- Wipe and clean both the interior chamber and exterior surfaces of the housing.
- Examine the O-rings, apply maintenance if necessary, and sanitize contact areas if required.
- Reassemble the housing, rinse thoroughly, and flush water through the system until clear.
The following sections break down each step in greater detail, including timing, precautions, and proper handling techniques for best results.
How to Isolate the Refrigerator Water Line and Get the Area Ready for Maintenance
To start the preparation, switch off the refrigerator’s water supply valve so no fresh water can enter the system during servicing. Next, release built-up pressure by activating the dispenser or opening a nearby faucet until the flow completely stops, and keep a bucket and towels close to catch any remaining drips from the line or housing.
Clear the surrounding space around the appliance to give yourself room to work, and place an absorbent cloth or tray beneath the filter area to protect the floor from accidental spills. It is also helpful to set aside roughly 20–30 minutes so the process can be completed carefully without rushing.
Taking these precautions in advance minimizes the risk of leaks, mess, or unexpected water release and makes the entire cleaning process safer and more controlled.
How to Open the Filter Assembly and Safely Extract the Cartridge
Once the system is depressurized and the water supply is off, use the housing wrench to carefully unscrew the filter housing by turning it counter-clockwise while supporting its weight. After loosening it, lift the cartridge out gently and keep it upright to avoid damaging sealing surfaces or disturbing internal fittings, placing it on a clean towel if you plan to inspect it further.
Examine the housing threads and internal seating areas for buildup, wear, or visible damage such as cracks or stripped threading that could affect performance. Store any small parts like clips or retaining rings in a safe container so they are not misplaced during the process.
Handling the disassembly carefully helps preserve the integrity of the filter system and allows you to identify potential issues before putting everything back together.
Proper Methods for Washing and Decontaminating the Housing Interior
Start the cleaning process by flushing out loose particles using warm water before submerging the housing in an appropriate solution such as vinegar for scale removal, mild detergent for routine cleaning, or a diluted bleach mixture for sanitizing, following the required soaking time. Proceed to scrub the inner surfaces with a soft nylon brush, paying close attention to the seating zones, threaded sections, and tight corners while avoiding abrasive materials that could damage the plastic.
Wipe down the exterior and cap threads with a clean cloth and the same cleaning solution, ensuring that no bleach residue remains on any metal fittings. Finish by rinsing thoroughly under running water until all cleaning agents and odors are completely removed.
Effective manual cleaning combined with a complete rinse cycle helps ensure the housing is properly prepared for inspection of seals and any necessary sanitization steps.
How to Examine and Care for O-Ring Seals During Routine Cleaning
During disassembly, gently take out each O-ring and closely check its surface for cuts, compression flattening, cracking, rigidity, or trapped particles, since any of these conditions can compromise sealing performance and usually indicate replacement is needed. Clean the seals using lukewarm water with a mild detergent, then pat them dry without stretching or twisting them to avoid deformation.
Before reinstalling, lightly coat each O-ring with a food-safe silicone lubricant to help it seat properly and reduce the chance of tearing or pinching, while steering clear of petroleum-based products that may damage the rubber. If the seal no longer retains elasticity or does not fit snugly in its groove, it should be replaced immediately to prevent leaks and pressure loss.
Safe Cleaning and Disinfection of Housing Using Vinegar or Bleach Solutions
To dissolve mineral buildup and general grime, a diluted mix of equal parts white vinegar and water can be used to soak internal housing surfaces for around 10–20 minutes, followed by scrubbing and a complete rinse to clear loosened residue. When a deeper disinfecting step is required, a mild bleach solution made with about one tablespoon of unscented household bleach per gallon of water can be applied for a short 2–5 minute contact time to eliminate microbial contamination.
It is essential not to combine vinegar and bleach under any circumstances, and care should be taken to avoid extended bleach exposure on metal components to prevent corrosion. After treatment with either solution, thoroughly flush the system with clean water until no odor or chemical trace remains to ensure safe operation and water quality.
Comprehensive Cleaning, Reassembly, and Flushing Workflow for Filter Housing
Begin by thoroughly rinsing the filter housing with fresh clean water until any trace of cleaning solution odor or residue is completely gone. After rinsing, wipe down all external surfaces using a clean, dry towel while making sure the O-ring groove remains lightly conditioned with a thin film of food-safe grease to maintain a proper seal.
Next, place the cleaned or newly replaced O-rings back into their grooves, confirming they sit evenly, lie flat, and are not twisted or pinched. Carefully screw the housing back onto the cap or head by hand until it feels secure, then use the housing wrench to tighten slightly further, typically a snug fit followed by only a small additional quarter-turn, avoiding excessive force. Restore the water supply and inspect all connection points for any signs of leakage around seals and threading.
Finally, flush the system by running several quarts of water or cycling the dispenser multiple times until the output runs clear and no cleaning taste remains. Verify normal operation of both the water dispenser and ice maker, then recheck for leaks after about 10–15 minutes of use. If you notice cracked housings, damaged threads, or O-rings that fail to seat properly, replace the affected parts with compatible components to ensure safe and reliable performance.
How Often Is Refrigerator Water Filter Housing Maintenance Recommended?
Routine servicing of the filter housing is generally recommended every 3–6 months, often aligned with standard filter cartridge replacement schedules. However, the ideal frequency may vary depending on water quality, mineral content, and how heavily the system is used in the household.
In areas with higher sediment levels, hard water, or well water sources, more frequent cleaning sometimes every 1–3 months may be necessary to prevent buildup and maintain flow efficiency. Regular inspection during each filter change helps identify early signs of scaling, discoloration, or taste changes that indicate the need for immediate maintenance.
|
Condition Factor |
Suggested Cleaning Frequency |
Replacement Guidance |
|
Low-sediment municipal water |
Every 3–6 months |
Replace O-rings if worn or cracked; replace housing if structural damage is visible |
|
Hard water or high mineral levels |
Every 1–3 months |
Change filters more frequently; replace housing if scale buildup causes stress fractures |
|
Well water or visible debris presence |
Every 1–2 months |
Replace cartridge or housing if clogging continues after cleaning |
|
Heavy household usage |
Every 1–3 months |
Inspect and replace O-rings annually or sooner if deterioration appears |
Factors That Affect How Often Filter Cleaning Is Required
The quality and origin of the incoming water largely set the pace for how quickly a filtration system needs attention, as mineral-heavy or sediment-laden sources tend to build up deposits more rapidly. In many homes, daily usage patterns also play a major role, since higher household occupancy and frequent faucet or dispenser use increase the rate at which debris and buildup accumulate.
Another important consideration is the design and condition of the filter cartridge itself, as finer filtration media or older cartridges can reach capacity sooner and require closer inspection of the housing. In addition, changes in taste, unusual odors, or visible particles in the water often serve as practical indicators that cleaning should be done ahead of the usual maintenance schedule.
Putting these elements together makes it easier to build a maintenance routine based on actual conditions rather than fixed time intervals alone.
How Routine Care Supports the Durability of Filtration Systems and Housings
Over time, regular upkeep helps limit the accumulation of scale and grit that can gradually wear down internal surfaces, threads, and connection points within the housing. Maintaining a clean system also ensures smoother water flow by reducing blockages and pressure stress, which helps the cartridge operate more efficiently for longer periods.
Proper attention to sealing components, including keeping O-rings clean and lightly lubricated, preserves flexibility and reduces the likelihood of leaks or premature seal failure. From a broader perspective, consistent maintenance minimizes unexpected breakdowns and helps avoid costly replacements by extending overall system reliability.
Ultimately, steady care practices protect both performance and longevity, keeping the filtration setup functioning efficiently over its service life.
What Maintenance Errors Should Be Avoided When Cleaning a Refrigerator Filter Housing?
Improper handling during refrigerator filter housing maintenance can lead to component damage and reduced water quality, so careful methods and appropriate materials are essential. Forceful reassembly or misaligned threading can strain plastic parts and distort sealing elements, eventually creating leaks and making future servicing more difficult. Likewise, using rough cleaning tools, aggressive chemicals, or petroleum-based greases may scratch sealing surfaces, weaken rubber components, or leave behind unwanted residues that affect water taste and safety.
Several frequent mistakes and their safe alternatives are outlined below to help protect the housing and maintain proper performance during servicing and reinstallation.
- Excessive tightening of the housing: Secure by hand first, then apply only a slight final turn with a tool; excessive force can crack plastic and damage threads.
- Using abrasive cleaning tools: Opt for soft nylon brushes instead of metal scrubbers to avoid harming sealing surfaces and mating areas.
- Using unsuitable lubricants: Apply only food-grade silicone grease, as petroleum-based products can cause O-ring swelling and deterioration.
How Does Excess Tightening Affect Filter Housing?
Applying too much tightening force places unnecessary pressure on plastic threading, which can lead to micro-cracks or distorted threads that weaken the sealing integrity over time. It can also compress O-rings beyond their intended shape, reducing their ability to rebound and creating slow leaks even when the housing appears properly closed.
Once these components are compromised, routine maintenance becomes harder and the risk of sudden failure under water pressure increases significantly. Maintaining a controlled tightening approach ensures a reliable seal, easier future servicing, and longer-lasting housing components.
Cleaning Methods That Protect O-Rings and Filter Housing Integrity
Certain chemicals can be particularly harsh on sealing materials, with petroleum-based oils, strong solvents, and similar compounds causing swelling, softening, or breakdown of rubber and plastic components. Rough cleaning tools such as metal scouring pads or highly abrasive scrubbers can leave fine surface scratches that encourage biofilm buildup and speed up component wear.
Inadequate rinsing after chlorine or bleach-based cleaning may leave residues that gradually damage seals and negatively affect water taste. A safer approach includes using gentle dish soap for routine cleaning, nylon brushes for scrubbing, and applying food-grade silicone grease when lubrication is needed, while replacing O-rings whenever their condition is uncertain.
Consistent use of gentle cleaning methods helps maintain sealing performance and significantly extends the service life of both O-rings and housing parts.
Replacement Parts and Cleaning Supplies from Water Filters FAST
Water Filters FAST is an online supplier focused on providing components and maintenance supplies for water filtration systems, including replacement housings, sealing rings, cleaning agents, and sanitizing products. Their offerings are designed to support routine upkeep and repair needs by covering the essential parts required during inspection, servicing, or full component replacement.
Their selection aligns closely with common maintenance requirements, making it easier to obtain compatible tools, seals, and cleaning solutions when servicing filtration systems or addressing wear-related issues.
|
Product Category |
Material / Compatibility Notes |
Suggested Maintenance Application |
|
Replacement Housings |
Standard refrigerator filter housing formats; durable plastic construction |
Used when housings crack, threads deform, or leaks cannot be resolved |
|
O-ring Kits |
Silicone and rubber variants in multiple size options |
Ideal for periodic maintenance or when seals show deterioration |
|
Housing Wrenches |
Designed for common filter housing dimensions |
Helps open housings safely without damaging threads or fittings |
|
Cleaners & Sanitizers |
Food-grade descaling and disinfection solutions |
Used for removing scale buildup and sanitizing internal surfaces |
Filter Housing Compatibility and O-Ring Replacement Choices
Replacement filter housings are generally manufactured in common dimensional standards using durable plastic that fits most refrigerator filtration head assemblies, making compatibility widely achievable across systems.
Ensuring the correct diameter and thread alignment is important so the unit seals properly and installs without stress or misfit. O-rings are commonly produced in both rubber and silicone versions and are available in standard groove-matching sizes, with silicone offering improved flexibility across temperature changes while still requiring precise sizing.
Housings should be swapped out when cracks, worn or distorted threads, or ongoing leakage appear even after correct sealing is applied, while O-rings need replacement if they become cut, flattened, or lose their circular shape; using properly matched components helps maintain reliable sealing and minimizes repeat maintenance issues.
Recommended Cleaning and Sanitizing Options for Water Filter Maintenance
Vinegar-based solutions are often used for removing mineral buildup during routine upkeep since they safely dissolve scale without introducing harsh chemical residues; when there is concern about microbial presence, food-safe sanitizers or diluted unscented bleach solutions may be used, followed by thorough rinsing.
Maintenance accessories such as housing removal wrenches and food-grade silicone lubricants are also provided by Water Filters FAST to support safe and efficient servicing of filtration components. Product selection should always prioritize items labeled for potable water use so that all cleaners and treatments remain suitable for surfaces in direct contact with drinking water.
Choosing dedicated, system-safe maintenance supplies improves cleaning efficiency while reducing the risk of incompatible chemical residues or damage.