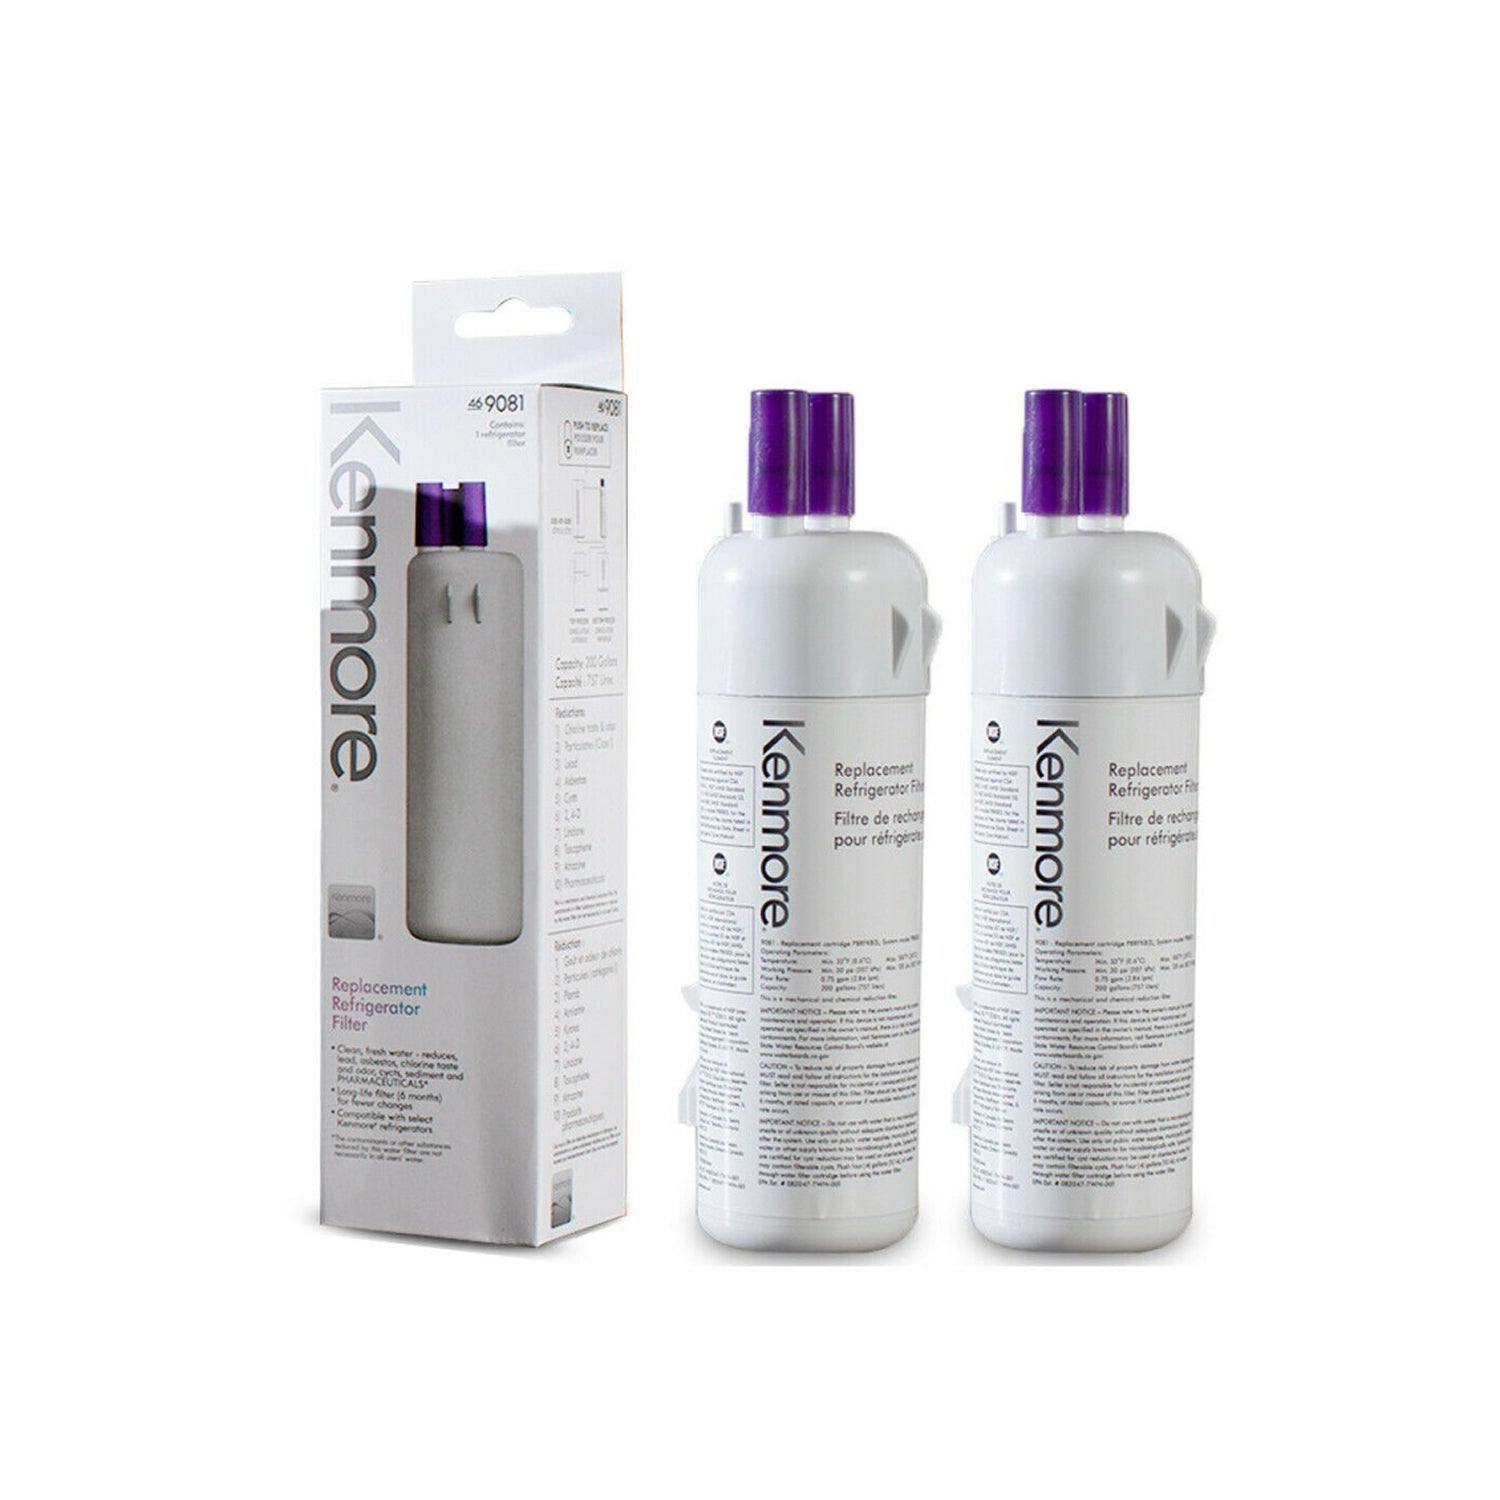
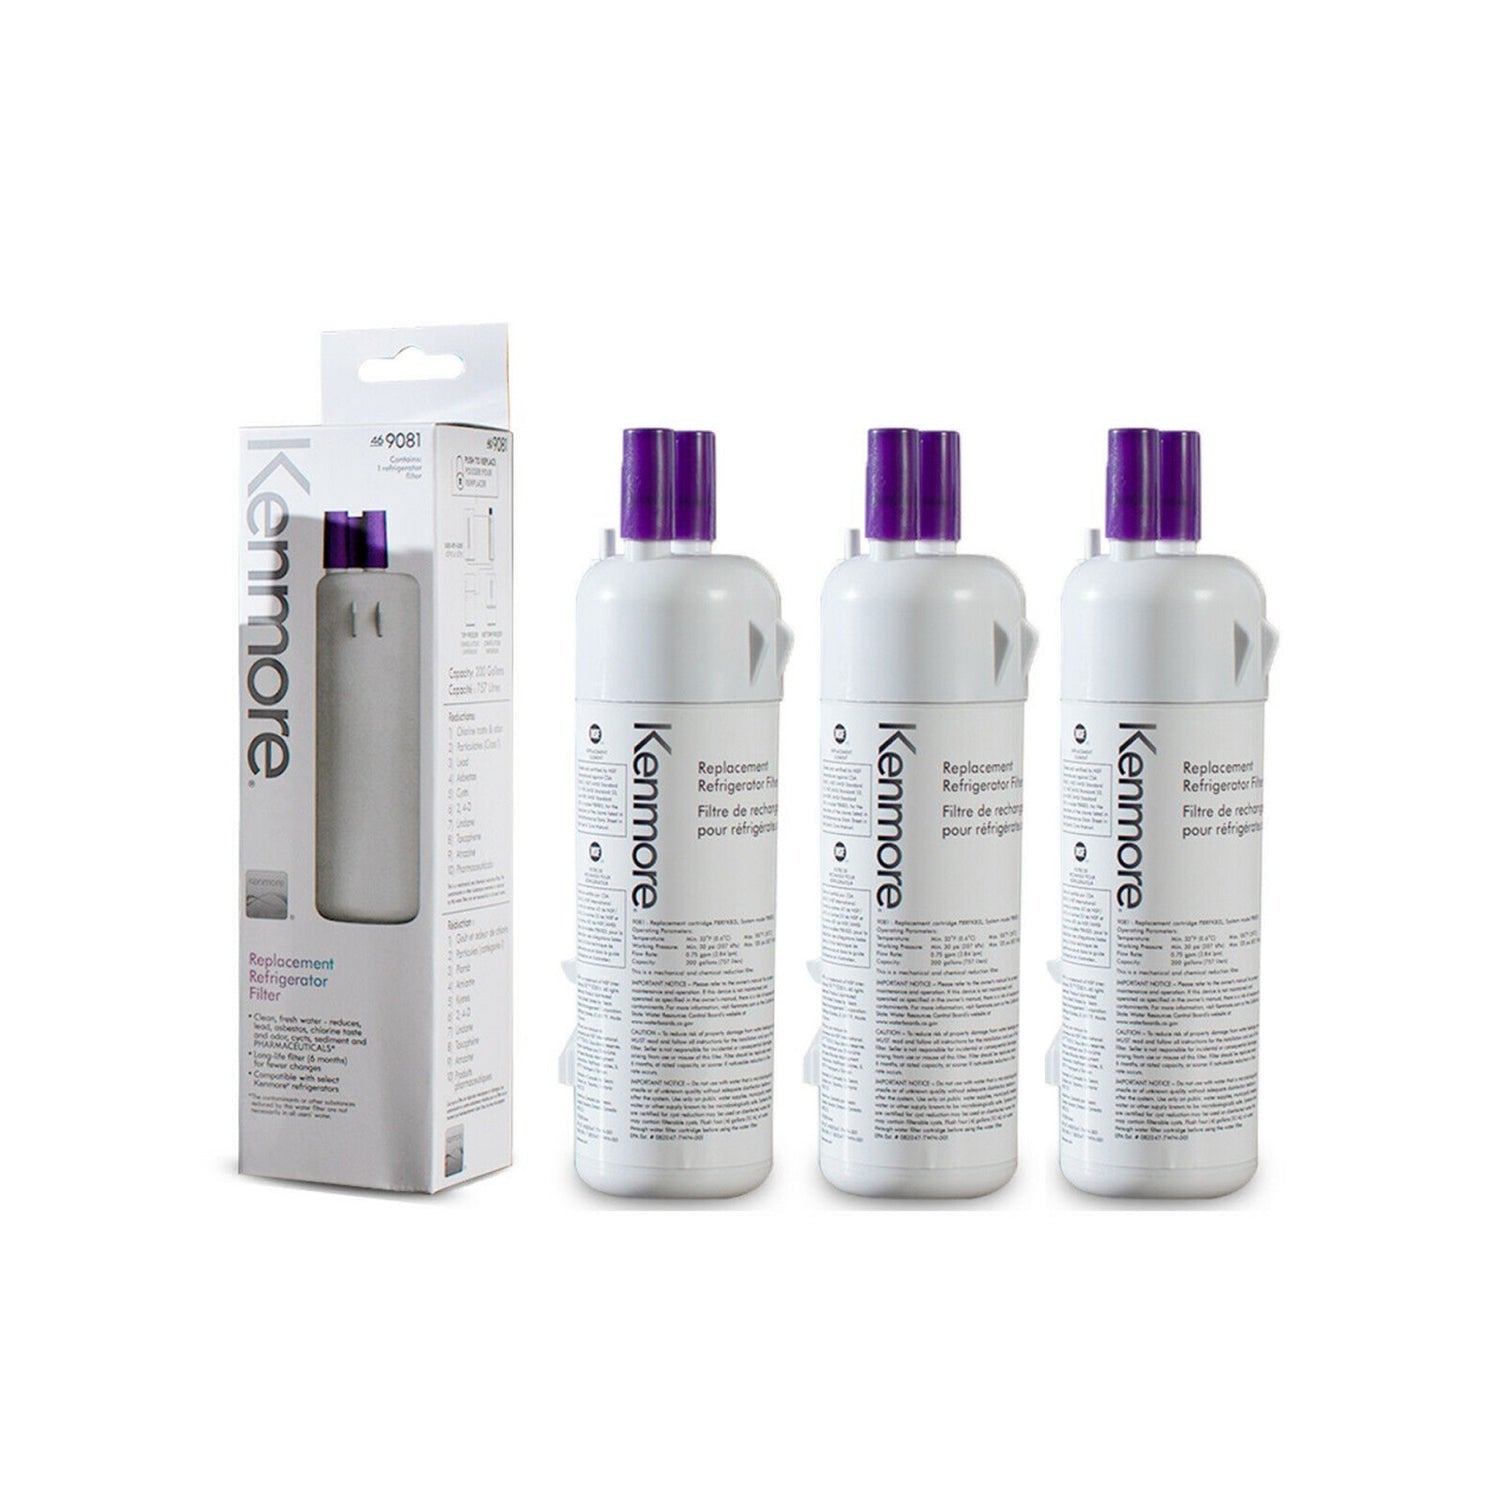
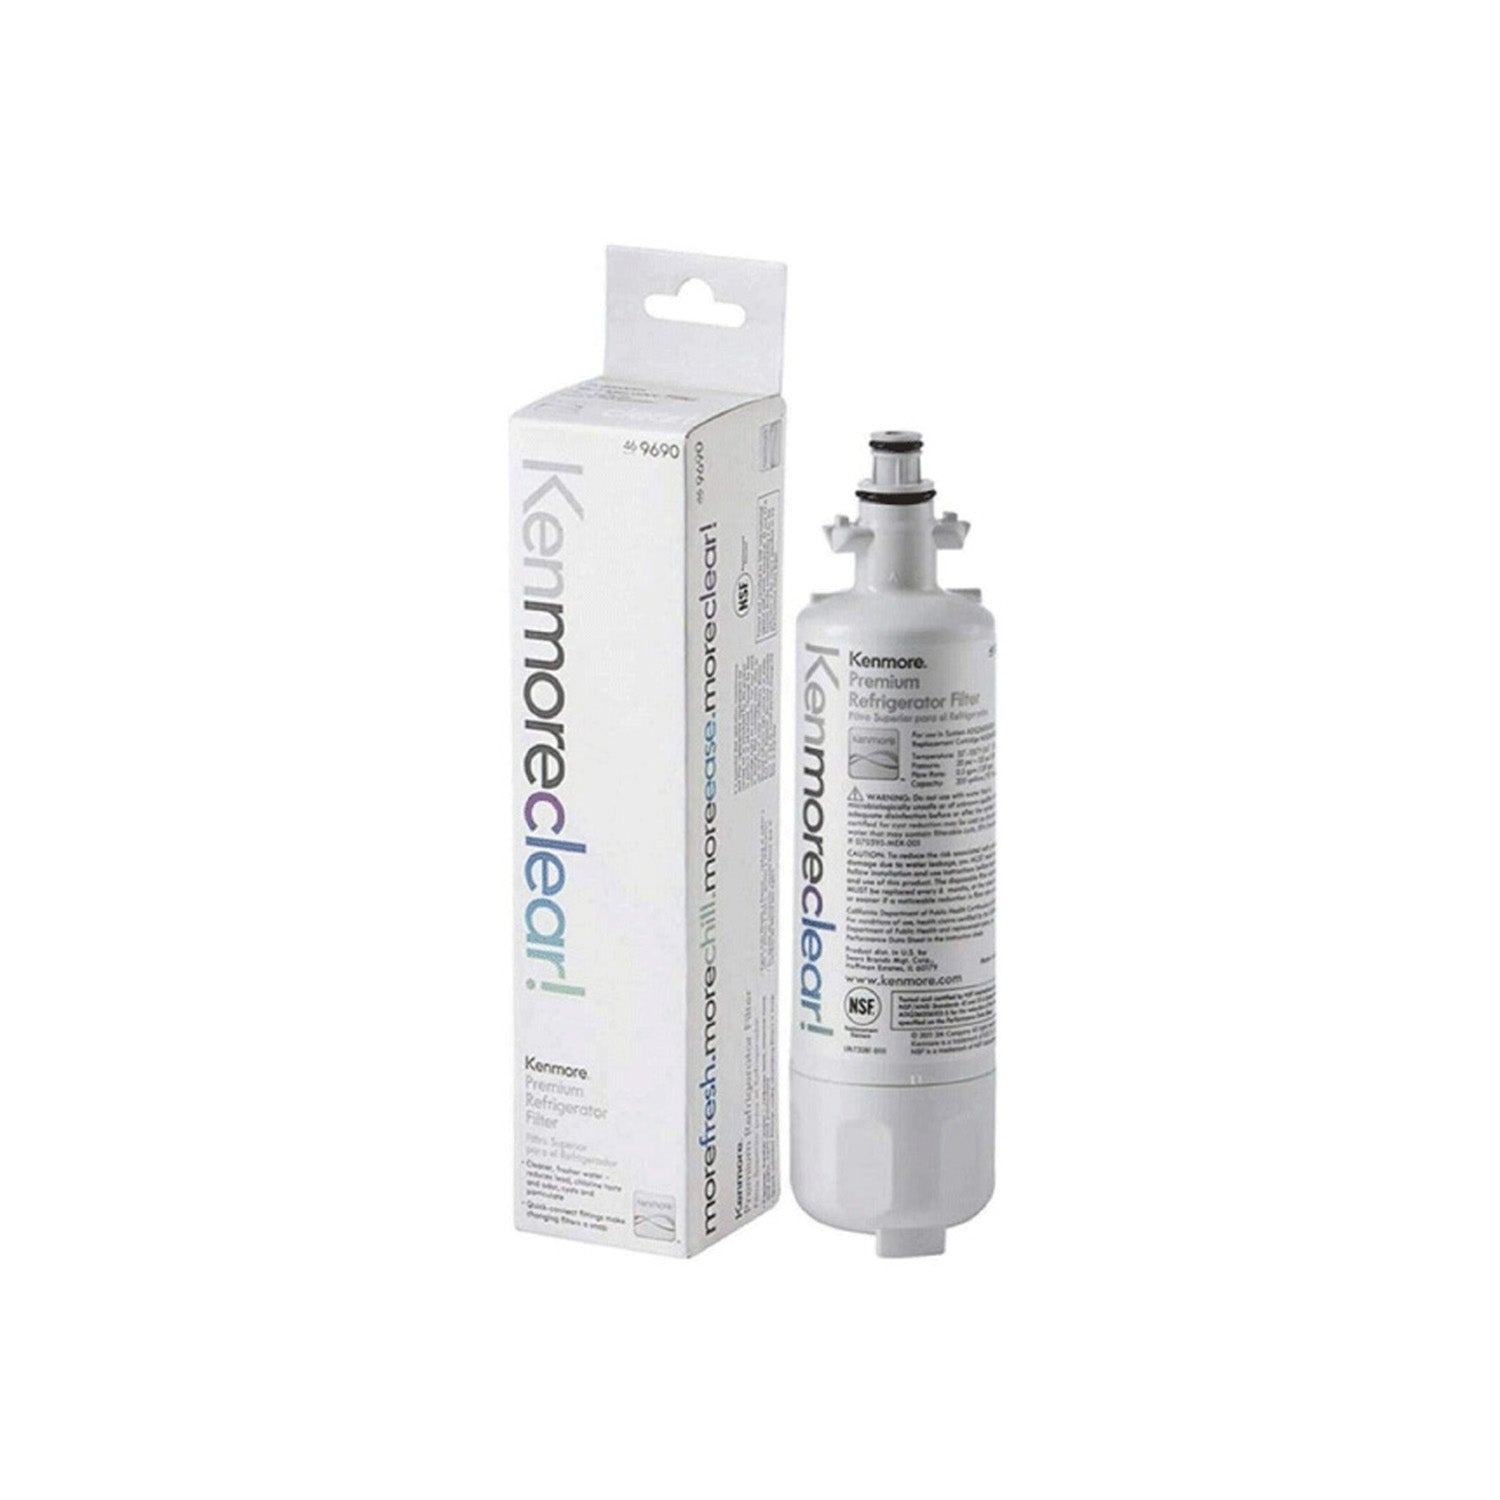
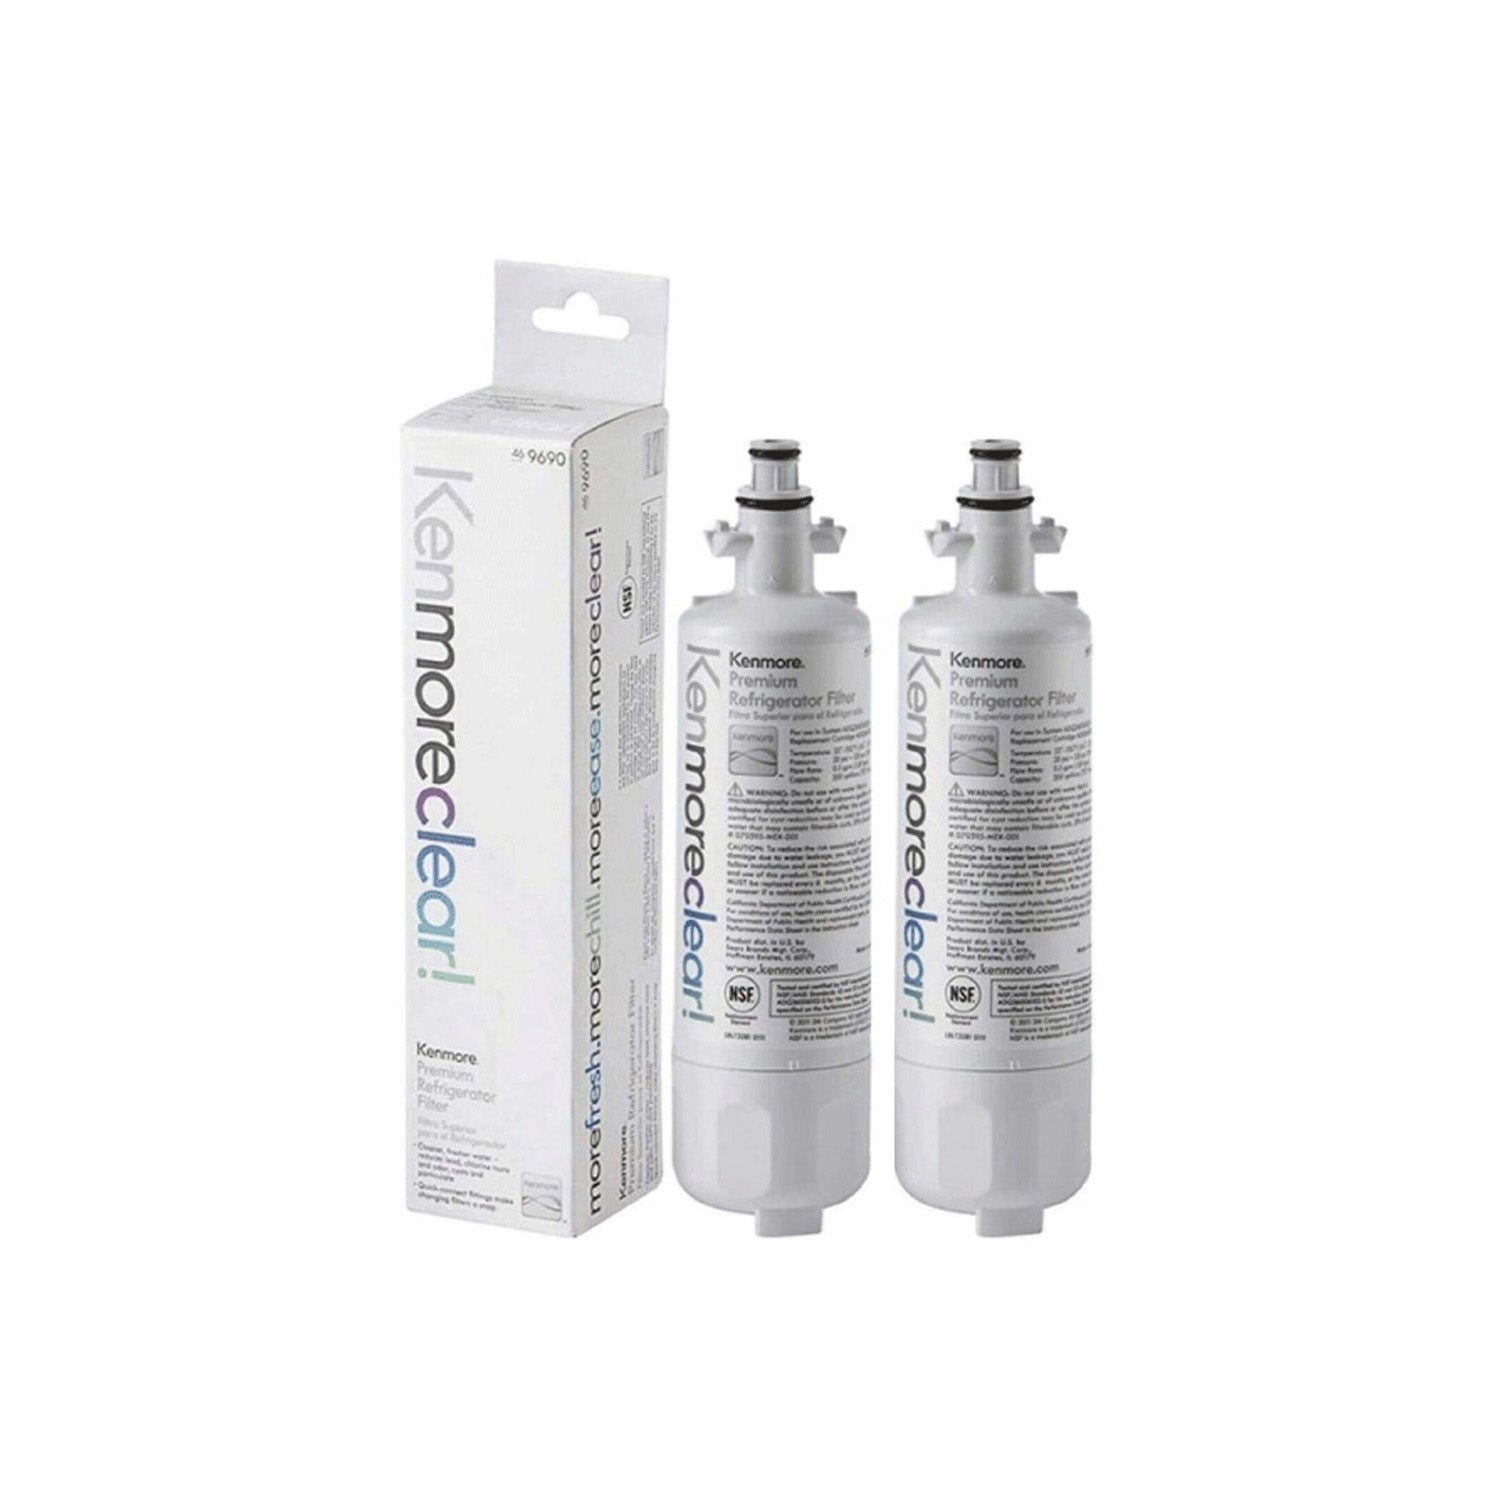
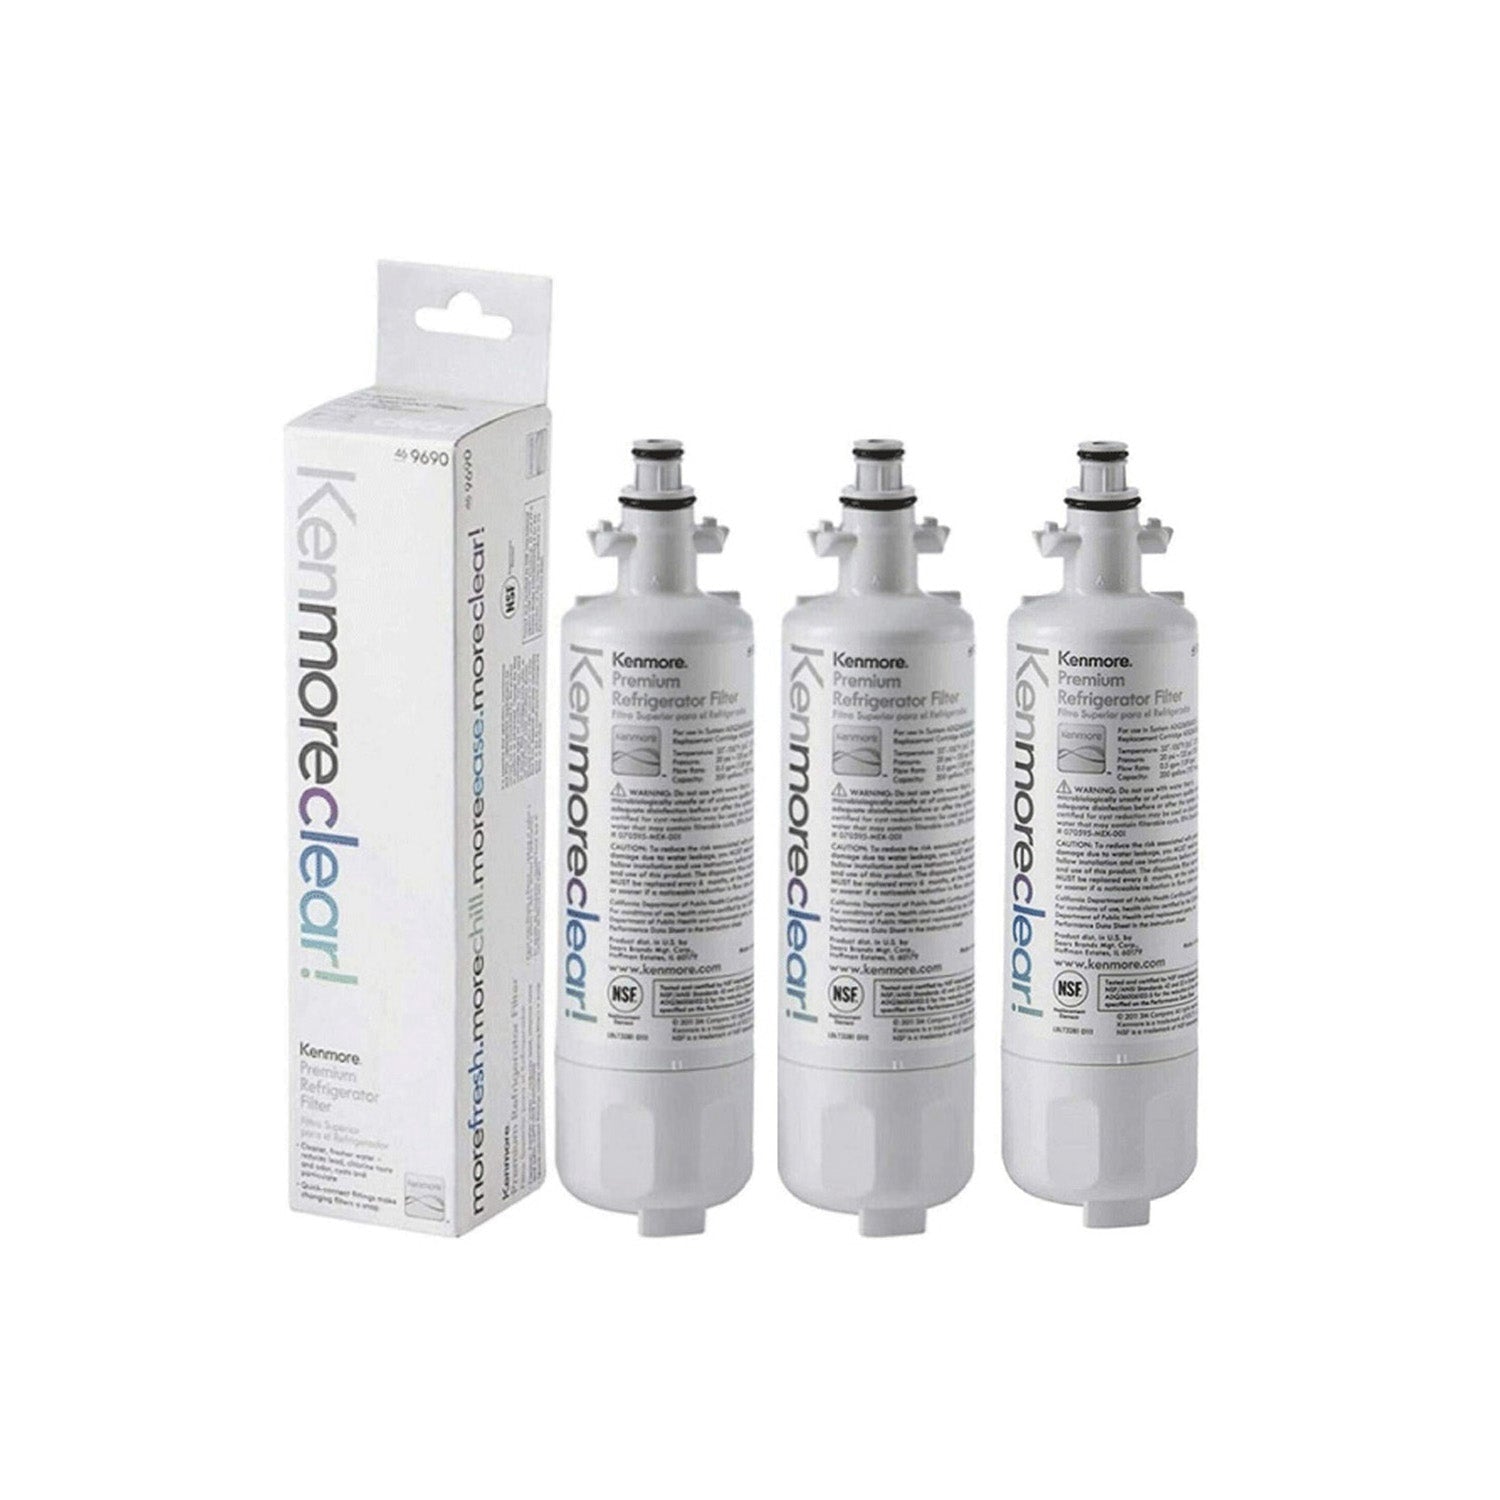
Water systems in many homes often fail due to missed maintenance. Dirt, sediment, and worn filters slowly reduce water quality and flow. A clear checklist helps you manage care and avoid costly repair work. This guide shows simple steps for filters, RO systems, UV units, and softeners. Each step keeps the water flow steady and supports cleaner output for daily use.
Regular checks also help you catch small issues before they grow into bigger problems. Follow the checklist below to stay on track with routine care and system upkeep. Use it to keep your water system working well throughout the year at home without sudden breakdowns or extra repair costs later.
Simple Steps for Water Filtration System Care
Keeping up with routine maintenance is one of the simplest ways to protect your water filtration system and maintain high water quality throughout your home. A consistent care schedule helps prevent unexpected problems, improves system efficiency, and supports a longer service life for filters and related components.
By following a straightforward maintenance checklist, you can stay on top of replacement dates, inspections, and basic upkeep tasks without unnecessary guesswork. Use the quick-start guide below to help ensure your water filtration system continues delivering clean, dependable water every day.
Quick Monthly Maintenance Checks
-
Check around filter housings, connection points, and beneath sinks for any signs of leaking. Dry the area after inspection so fresh drips are easier to spot. Even a minor leak can cause damage over time.
-
Monitor water pressure and flow at faucets. A noticeable drop in flow is often an early sign that the filter needs replacement. Make a note of any fixtures that seem slower than normal.
-
Review indicator lights or error messages on RO units and UV systems. Follow the manufacturer's instructions before clearing or resetting any alerts.
-
Test your water by smell and taste. Chlorine odors, metallic flavors, earthy notes, or other unusual changes can be warning signs of filter problems before the water appears cloudy.
Routine Filter Care Every 3–6 Months
-
Replace sediment and carbon filters every 3–6 months to maintain water quality and steady system performance. Homes with heavy sediment may require more frequent filter changes.
-
Wash filter housings with mild soap, inspect O-rings for wear, and apply food-grade silicone lubricant to help prevent leaks and extend component life.
-
Record each service date and set maintenance reminders to stay on schedule. Consistent water filter maintenance helps avoid unexpected performance issues and keeps your system running efficiently.
Scheduled Deep Cleaning and System Sanitization Every 6–12 Months
-
Perform a full sanitation of water storage tanks twice a year, especially for RO reservoirs, well-water tanks, and atmospheric storage systems where buildup can accumulate more easily.
-
Take apart and disinfect filter housings, water lines, dispensing spouts, and faucets to help maintain hygienic operation throughout the system. For UV purification equipment, clean the quartz sleeve every three to six months to support consistent performance.
-
Arrange a yearly inspection by a qualified service technician for complex installations, heavily used systems, or applications where uninterrupted operation is essential. Regular professional servicing may also help preserve manufacturer warranty coverage.
Essential Maintenance Items to Have Available
Keep these items ready for routine upkeep: compatible NSF/ANSI-certified replacement filters, extra O-rings, food-safe silicone lubricant, gentle cleaning detergent, a UV sleeve cleaning wipe, a TDS tester for RO systems, and chlorine-based or manufacturer-recommended sanitizing solution.
For added monitoring, consider installing inline pressure gauges before and after the filters to track pressure loss across the system.
Maintenance Requirements Based on Your Water Filtration System Type
The maintenance of your water filtration system depends on the type of system you have at home. Each system works differently and requires its own maintenance routine. Following the recommended care schedule helps keep your water clean, safe, and fresh-tasting. Regular maintenance can also prevent performance problems and help you avoid costly repairs. Knowing the needs of your specific system is the best way to keep it running properly and providing reliable water every day.
Routine Replacement Schedule for Sediment and Activated Carbon Water Filters
Sediment and activated carbon cartridges are widely used in both whole-home and under-sink filtration systems, but they typically need replacement more often than many other filter types. As part of ongoing water filter upkeep, these cartridges are usually changed every 3–6 months, although earlier replacement may be necessary if you begin noticing indicators such as:
-
Pressure loss of more than 10–15 psi across the filter element.
-
Water appearing slightly hazy, or developing a dull or stale taste.
-
Reduced effectiveness in removing unwanted tastes and odors, indicating the carbon media is nearing the end of its service life.
Homes supplied with sediment-heavy or murky water can benefit from installing a pre-sediment filter, which helps reduce the load on the carbon stage. This added protection can increase filter longevity, lower replacement costs, and support dependable operation of your water filtration system.
Reverse Osmosis System Service Schedule and Filter Care
To maintain reliable performance from a reverse osmosis drinking water system, it is important to follow a consistent maintenance routine. For most RO systems:
-
Pre-filter and post-filter cartridges should generally be replaced every 6–12 months.
-
RO membranes often remain effective for 1–2 years, although lifespan can vary based on water consumption, feed water TDS (total dissolved solids), and the presence of chlorine or chloramines.
Check water quality with a TDS meter every 1–2 months. A noticeable rise in TDS readings after the membrane stage commonly indicates membrane fouling or deterioration. In addition, the storage tank and connected water lines should be sanitized every 6 months. One of the best ways to extend membrane life and preserve system efficiency is to ensure the proper pre-filtration components are installed and replaced on schedule.
UV System Lamp and Quartz Sleeve Maintenance
To keep a UV water treatment unit operating effectively, routine attention to both the lamp and quartz sleeve is essential:
-
Clean the quartz sleeve every 3–6 months to prevent mineral deposits from blocking UV transmission. Homes with hard water may require more frequent cleaning intervals.
-
Install a new UV lamp once every year, regardless of whether the bulb still appears to be working. Over time, UV output gradually declines, reducing disinfection performance.
-
Handle both the lamp and quartz sleeve carefully, and avoid direct contact with bare hands. Oils and residue from skin can interfere with UV efficiency and shorten component effectiveness.
This aspect of water filtration maintenance is easy to neglect, yet failing to follow these steps can significantly reduce the system’s ability to eliminate harmful microorganisms from the water supply.
Maintenance Guidelines for Water Softeners, Salt-Free Conditioning Units, and Combination Systems
Different water treatment systems require their own upkeep routines to keep performance consistent and dependable:
-
Softeners: inspect the salt supply once a month, wash the brine tank annually, and clean the resin bed at the intervals recommended by the manufacturer.
-
Salt-free conditioning units: change the conditioning media according to the manufacturer’s schedule, typically every 1 to 3 years.
-
Combination systems: because these units use multiple treatment methods, maintenance should be completed for each individual component. Scheduling media and filter replacements together can help minimize interruptions and simplify service.
Keeping up with these system-specific maintenance tasks helps prevent avoidable issues and supports reliable filtration performance throughout the year.
Water Treatment System Maintenance Guide: Service Tasks, Recommended Timing, and Performance Indicators
|
System category |
Main maintenance duties |
Recommended service frequency |
Signs maintenance is needed |
|
Sediment filtration (point-of-entry or point-of-use) |
Change filter element; wash filter housing; apply lubricant to O-ring seals |
Every 1–6 months, depending on sediment levels |
Murky water, pressure drop greater than 10–15 psi, or noticeable particle buildup |
|
Activated carbon filtration (whole-house or faucet-mounted) |
Install new cartridge; flush out carbon dust after replacement |
About every 3–6 months |
Unpleasant taste or odor returns, chlorine becomes noticeable, or flow rate decreases |
|
Reverse osmosis drinking water systems |
Replace prefilters and postfilters; sanitize storage tank and tubing; monitor TDS; change membrane when needed |
Filters every 6–12 months; membrane every 1–2 years; sanitation every 6 months |
Higher TDS readings, slower tank refill times, or changes in water flavor |
|
UV water disinfection units |
Wipe and inspect the quartz sleeve; replace UV lamp; verify ballast operation |
Sleeve cleaning every 3–6 months; lamp replacement every 12 months |
System alerts, warning indicators, or failed microbiological testing |
|
Water softening systems |
Refill salt supply; clean the brine tank; maintain resin performance |
Salt checks monthly; brine tank cleaning annually |
Water feels hard again, scale buildup reappears, or water develops a salty taste |
|
Salt-free scale prevention systems |
Replace conditioning media |
Typically every 1–3 years |
Increased scaling or a noticeable reduction in water flow |
|
Combination or multi-stage treatment systems |
Maintain each treatment stage according to its specific requirements |
Depends on the components installed |
Any of the warning signs associated with the individual treatment stages above |
Adjusting Maintenance Timing Based on Water Source and Seasonal Conditions
The type of water feeding your system, along with seasonal changes, can influence how often maintenance is needed. Water quality is not constant and may shift due to heavy rainfall, nearby construction activity, water main disruptions, or extended dry periods. Maintaining a basic maintenance log makes it easier to spot changes early and respond before they become larger issues.
City Water Filter Maintenance Timing and Warning Signs
For homes connected to a municipal water supply, maintenance intervals are usually easy to anticipate, although certain local events can affect water quality and filter performance:
- Sediment and carbon filters: every 3–6 months
- RO prefilters and postfilters: every 6–12 months
- UV sleeve cleaning: every 3–6 months
It’s also important to stay aware of changes in your local water system. Water main repairs, hydrant flushing programs, and boil-water notices can introduce contaminants or debris, making it a good idea to inspect, flush, or replace filters as needed.
Periods of elevated chlorine or chloramine treatment may also reduce carbon filter effectiveness, so changes in water taste or odor can serve as practical indicators that routine filtration maintenance is due.
Maintaining Safe Water Quality in Private Well Systems
For households that draw water from a private well, filtration equipment requires closer attention and more frequent oversight. Unlike treated municipal supplies, well water conditions can shift significantly throughout the year:
-
Wells that contain elevated levels of iron or sediment often need sediment filters replaced as frequently as every month.
-
Seasonal rainfall, especially during wetter spring and autumn periods, can increase water cloudiness and heighten the chance of microbial contamination. Confirm that UV treatment units are operating properly and disinfect storage tanks according to the recommended schedule.
-
Have your well water tested at least once a year for bacteria, nitrates, and region-specific contaminants such as arsenic, following guidance from local health agencies.
Since every private well has its own set of vulnerabilities, delaying routine maintenance can quickly affect both water quality and overall safety.
Maintenance Timing for Seasonal Changes and Extended Periods of Non-Use
Environmental conditions and time away from home can influence how well your filtration system performs. Keep these maintenance steps in mind throughout the year:
-
Following extended absences: Run water through the system for 5–10 minutes before normal use, particularly if it remained stagnant in warm temperatures. Disinfect the system if there is any concern about water quality.
-
During cold weather: Protect filter housings and water lines with proper insulation to reduce the risk of freezing and damage.
-
When snow and ice begin to melt: Increased sediment levels may enter the water supply. Consider replacing filters more frequently for several weeks after the thaw.
-
In the aftermath of flooding or wildfire events: Install new filter cartridges, thoroughly sanitize the entire system, and arrange laboratory testing to check for potential contaminants.
Monitoring Water Filters Through Pressure and Taste Indicators
Unexpected changes in system pressure or the reappearance of unpleasant taste and odor often signal that filtration performance is declining and attention is needed sooner rather than later.
Fitting pressure gauges before and after the filter setup provides a clear way to measure buildup, with a differential exceeding roughly 10–15 psi commonly indicating restricted flow and a pending filter change.
Keeping a straightforward log that includes dates, taste or smell variations, water clarity, and pressure readings helps reveal long-term patterns, making it easier to establish a reliable replacement schedule based on actual usage.
How to Replace Water Filters and Disinfect the System Correctly
Keeping the process simple and hygienic is essential. Check your owner's guide for model-specific instructions, water shutoff points, and approved maintenance products. Always use NSF/ANSI-certified replacement filters and food-safe lubricants designed for potable water systems.
Replacing a sediment or carbon filter cartridge (whole-house or under-sink system)
-
Turn off the water supply and release any built-up pressure by opening a nearby faucet. Position a bucket and absorbent cloth beneath the filter housing to catch any remaining water.
-
Use the housing wrench to remove the filter canister. Discard the old cartridge and inspect the interior for signs of slime, buildup, or mold growth, which can indicate that sanitizing has been overlooked.
-
Clean the housing thoroughly with mild dish soap. After washing, disinfect it with a solution of unscented bleach diluted according to recommendations, or use a sanitizer approved by the manufacturer. Rinse well until no disinfectant smell remains.
-
Examine the O-ring carefully and apply a light coat of food-grade lubricant. Replace the seal if it shows cracking, flattening, or other damage, then make sure it sits properly in the groove.
-
Insert the new filter cartridge in the correct position and reassemble the housing. Tighten it by hand first, then use the wrench to secure it gently without excessive force.
-
Slowly turn the water supply back on. Flush the system to remove any carbon dust or loose particles, typically requiring several gallons of water, and inspect all connections for leaks.
Replacing the RO Membrane and Finishing Filter
-
Shut off the water supply and open the faucet to release system pressure.
-
Replace sediment and carbon cartridges first to protect the new membrane.
-
Remove the old membrane from the housing using a suitable extraction tool.
-
Insert the replacement membrane fully into the housing and secure the cap.
-
Sanitize the housing and connected components following the manufacturer's instructions.
-
Flush the system thoroughly and verify that water quality readings improve.
-
Install the post-carbon filter, then inspect all connections for leaks and proper operation.
UV Quartz Sleeve Care and Annual Lamp Replacement
According to WHO guidance, keeping UV system components in good condition is critical for reliable pathogen reduction in drinking water.
-
Turn off the ballast and allow the UV lamp to cool completely before beginning any maintenance.
-
Gently remove the quartz sleeve. Use the manufacturer-recommended cleaner or a vinegar solution to dissolve mineral buildup. Rinse thoroughly and wipe dry with a clean, lint-free cloth.
-
Install a new UV lamp every year, even if the existing lamp continues to operate. Handle the lamp with gloves to prevent oils from your skin from contaminating the surface.
-
Once everything is reassembled, restore power and verify that the indicator light shows normal operation and that water is moving in the correct direction through the unit.
System startup, flushing, and final checks
- Repressurize the system according to specifications.
- Flush water through all connected outlets.
- Measure water quality and system performance.
- Log maintenance activities and replacement dates.
Compliance and safety considerations:
- Follow the equipment manufacturer’s guidelines to maintain proper operation and warranty coverage.
- Choose components that meet applicable NSF/ANSI standards, such as 42 and 53 for carbon filtration, 58 for reverse osmosis systems, and 55 for ultraviolet treatment units.
Fixing RO Problems: Pressure Drops, Bad Taste, Leaks, and Unusual Sounds
Even well-maintained RO systems can still develop performance issues over time due to wear, usage, or water quality changes. Slight low pressure, unusual taste, leaks, and gurgling noises are common warning signs of issues.
The following section outlines practical fixes and inspection steps to resolve these problems effectively step-by-step guidance.
Reduced Flow After Installing New Filter Components
Flow drop after a fresh filter swap often points to a mismatch between system specs and installed parts. A cartridge with a tighter micron rating or an incompatible restrictor can easily slow the overall output, so confirming compatibility is the first step. If pressure seems inconsistent, trapped air inside the lines may also be the cause opening a top-level faucet can help release it. In multi-stage setups, even one saturated or blocked stage can limit performance across the entire system, so isolating each stage helps identify the restriction.
Unusual Taste or Odor Following Maintenance Work
Off flavors or smells right after servicing usually come from incomplete flushing of new components. Carbon filters, in particular, can release fine particles that affect taste unless the system is properly flushed with several gallons of water or as directed by the manufacturer. New RO membranes may also introduce a temporary change in taste during their initial conditioning period, with water quality stabilizing over a few days as TDS levels adjust. In some cases, lingering odors can signal stagnant water or biofilm buildup, which calls for cleaning housings and rinsing faucet aerators.
How to Stop Water Leaks Around Filter Canisters and Connections
-
A worn, displaced, or unlubricated O-ring can allow water to escape. Remove it, wipe the sealing surfaces clean, apply food-grade lubricant, reinstall correctly, and replace it if any damage is visible.
-
Leaks may occur when the housing is threaded incorrectly. Loosen it completely, align the threads carefully by hand, then tighten until secure without forcing it.
-
If push-connect tubing is leaking, it may not be inserted all the way. Trim the tubing end straight and push it firmly into the fitting until it reaches the proper depth.
Situations Where Professional Service Is the Better Choice
-
Ongoing microbial test failures, repeated biofilm buildup, or slime returning inside filter housings after cleaning.
-
System error messages or electronic fault codes that remain after following the troubleshooting steps in the owner's manual.
-
Damaged filter housings, problems involving a well pump or pressure tank, local code compliance concerns, or any condition that presents a safety risk.
Water Testing to Verify Filtration System Performance
Regular water testing helps ensure your filtration system is operating effectively after maintenance. It also provides a clear indication of when filters need replacement and can reveal developing issues before they affect water quality.
Recommended tests following significant maintenance work:
- Chlorine residual (for homes supplied with disinfected municipal water).
- TDS measurement for reverse osmosis (RO) systems.
- Turbidity testing if you have access to a turbidity meter.
Understanding Water Test Findings and the Right Next Steps
-
Increasing RO permeate TDS: this may indicate a deteriorating RO membrane or chlorine damage reaching the membrane. Inspect sediment and carbon prefilters and evaluate whether membrane replacement is needed.
-
Chlorine flavor or odor after a carbon filter: the filter media could be depleted, or water may be passing through too quickly to allow sufficient treatment. Review filter condition and system flow specifications.
-
Bacteria detected in well water: disinfect the well using an approved shock treatment method, conduct follow-up testing, and verify that the UV lamp is within its service life and the sleeve is free from buildup.
Water Treatment Certifications Worth Looking For
-
NSF/ANSI 42 covers taste, odor, and appearance improvements; 53 addresses health-related contaminant reduction; 58 applies to reverse osmosis systems; and 55 relates to UV treatment equipment. Select products certified for the specific issues identified in your water.
-
Where PFAS, lead, or similar contaminants are present, choose filtration systems that carry verified reduction certifications for those substances.
-
Refer to EPA and CDC recommendations when planning water testing schedules and selecting treatment methods.
Is Water Testing Necessary After Changing Filters?
-
In most cases, yes. RO systems should be checked with a TDS measurement after filter changes, and water testing is recommended following UV servicing or microbial treatment maintenance.
-
For municipally supplied water, monitoring taste and odor along with a quick chlorine residual check can help confirm that the filtration system is performing as expected.
Annual Water Filtration Maintenance Costs and Long-Term Value
Planning ahead for water filtration upkeep helps you avoid surprise expenses and keep your system performing efficiently year after year. Since a filtration system is a long-term investment, routine maintenance plays a key role in protecting both your equipment and your budget. Knowing the expected annual costs for replacement parts, service needs, and filter changes makes it easier to maintain reliable water quality while preventing unnecessary spending.
The overview below outlines the typical components, maintenance intervals, and ownership expenses associated with home water filtration systems, helping you manage ongoing care in a cost-effective way.
Estimated Yearly Upkeep Expenses for Common Water Treatment Systems
Regular maintenance budgets can differ depending on the type of filtration equipment installed, replacement schedules, and household water conditions.
|
System |
Average annual replacement parts |
Additional components (every 2–3 years) |
Estimated maintenance time |
|
Whole-house sediment/carbon filter |
$80–$300 |
None typically required |
1–2 hours |
|
Under-sink RO system |
$120–$250 |
Membrane replacement: $50–$120 |
2–3 hours |
|
UV water treatment unit |
$70–$150 |
Quartz sleeve: $40–$120 when needed |
About 1 hour |
|
Water softener |
$60–$150 for salt |
Resin cleaner: $10–$30 |
1–2 hours |
Keep in mind that actual costs depend on factors such as system capacity, household water consumption, and the amount of sediment or chlorine present in the local water supply.
Maintenance Savings and Choosing the Right Service Approach
-
Cut unnecessary expenses with regular upkeep. Staying on schedule with maintenance helps prevent avoidable breakdowns and delays major equipment replacements, potentially saving hundreds of dollars in repair and replacement costs each year.
-
Improve operating efficiency. Clean filters allow pump-powered systems to work with less effort, which can help reduce energy consumption and keep performance consistent.
-
Limit scale buildup and equipment wear. Properly maintained whole-house treatment systems help reduce mineral deposits, protecting plumbing, fixtures, and appliances while supporting a longer lifespan.
DIY vs. Professional Maintenance: Knowing When to Use Each
-
DIY tasks: Homeowners can typically handle cartridge replacements, UV sleeve cleaning, RO TDS monitoring, and routine system sanitization.
-
Professional service: Expert assistance is recommended for complicated valve configurations, multi-media filtration systems, ongoing water quality concerns, and situations involving warranty or code compliance requirements.
-
Combined approach: Perform regular maintenance yourself throughout the year, then schedule an annual professional inspection to evaluate overall system condition and performance.
Water System Maintenance Cost Snapshot Tool (One-Page Planner)
Information you need to collect
-
Type of setup in your home: full-house sediment and carbon filtration, reverse osmosis (RO), ultraviolet (UV) disinfection, or water softening system
-
Number of people in the household and typical daily usage level (low, medium, or high)
-
Water supply type: municipal/city line or private well, plus any known issues like chlorine, iron, or visible particles
-
Current prices for each replacement filter or cartridge used in every stage
-
Any technician service or inspection charges, if you plan to use professional support
Step-by-step cost estimation method
-
Use standard replacement cycles as a baseline: sediment/carbon filters every 3–6 months, RO pre/post filters every 6–12 months, RO membrane every 2–3 years, UV lamp once per year, and tank sanitation every 6 months
-
Modify these cycles based on real-world indicators: if water pressure drops by more than 10–15 psi or taste/odor issues return early, reduce the interval by one level
-
Calculate yearly cost by multiplying each filter’s price by how many times it will be replaced in a year
-
Include any recurring professional service charges in the total calculation
-
Add a safety margin of 10–20% to cover unexpected events such as contamination spikes, pipe issues, or seasonal water changes
What the final estimate provides
-
A full yearly maintenance cost for your water filtration setup
-
A practical replacement timeline for each filter stage
-
A simple reminder schedule that can be transferred into a phone or calendar app
Expert Insights, Homeowner Examples, and Costly Maintenance Errors
Practical experience can provide valuable lessons that go beyond what instruction manuals cover. Through homeowner examples and industry recommendations, it becomes easier to see how consistent upkeep supports a dependable home water system. These examples reveal the unique demands of different setups, the areas where maintenance is most often overlooked, and the simple water filtration practices that help prevent repairs while protecting water quality.
Case study: sediment-rich well water vs city water supply
Well-water household (4 residents): After a seasonal increase in sediment levels, the homeowners switched to monthly sediment filter replacements for three consecutive months before returning to their regular 3-month schedule. They also performed quarterly UV sleeve cleanings and scheduled annual bacteria testing. Following this maintenance plan helped maintain steady water pressure and noticeably improved water taste.
Municipal-water household (2 residents): The homeowners replaced carbon filters every 3–4 months, especially after local hydrant flushing events. Their RO membrane remained in good condition for three years because they installed a chloramine-compatible prefilter and consistently completed recommended RO system maintenance checks.
Lessons learned from videos and online communities
Video tutorials often help homeowners avoid common installation mistakes. Many experienced users emphasize using clean hands, positioning O-rings correctly, and performing complete system flushes after filter changes.
Online discussions frequently identify two early warning signs of neglected maintenance: declining water pressure and unpleasant-tasting water. In several cases, delaying a scheduled replacement led to biofilm buildup inside filter housings and required extensive cleaning to resolve.
Consolidated Expert Recommendations
-
Follow the manufacturer's replacement schedule instead of waiting for water taste to change.
-
Thoroughly flush new filters before using the water for drinking purposes.
-
Inspect the system for leaks, pressure fluctuations, and warning indicators after servicing.
-
Refer to the owner's manual or consult a qualified technician whenever maintenance procedures are unclear.
Frequent Maintenance Errors to Avoid
-
Continuing to use carbon filters beyond their recommended service life, which can increase the risk of contaminant breakthrough.
-
Touching UV lamps with bare hands or delaying annual lamp replacement.
-
Skipping tank and water line sanitization, which may reduce system performance and lifespan.
-
Overtightening filter housings, potentially causing cracks, leaks, and water damage.
The Value of Regular Water System Maintenance
The United States Environmental Protection Agency notes that routine upkeep of residential water systems helps reduce contamination risks and supports safe drinking water.
-
As filters age past their recommended service life, they become less effective, allowing more unwanted particles and pollutants to pass through.
-
Consistent maintenance of whole-house filtration equipment can limit mineral scale buildup inside plumbing and water-heating systems, helping them operate longer.
-
Keeping up with scheduled service can reduce the chances of unexpected breakdowns while also preventing unnecessary water waste from repeated flushing and corrective maintenance.
Example Maintenance Timeline for the First Year
-
Month 1: Install inlet and outlet pressure gauges, record baseline readings, and document normal taste and odor conditions.
-
Month 2: Perform a quick inspection. If the pressure difference across the primary filter exceeds 10 psi, consider shortening replacement intervals.
-
Month 3: Replace sediment and carbon cartridges, clean filter housings, lubricate O-rings, and flush the system.
-
Month 4: Test RO TDS levels and lightly clean the UV sleeve.
-
Month 6: Sanitize RO storage components and tubing, replace RO pre/post filters if required, and inspect the UV lamp.
-
Month 9: Change sediment and carbon filters again and verify pressure readings.
-
Month 12: Schedule a professional inspection for advanced systems, install a new UV lamp, and review maintenance records to fine-tune future service intervals.
The process is straightforward. Small maintenance tasks completed at the proper time help keep the system operating efficiently while preserving clean, fresh-tasting drinking water.
Important Service Precautions
-
Turn off the water supply and disconnect power before performing maintenance.
-
Use gloves and eye protection whenever working with sanitizing products.
-
Choose NSF/ANSI-certified replacement filters that are compatible with your system requirements.
-
If a procedure appears unsafe or uncertain, discontinue work and contact a qualified technician.
Frequently Asked Questions About Water Filtration Systems
Does a Water Filtration System Require Regular Maintenance?
Yes, regular maintenance is essential to keep your water filtration system performing efficiently. Routine servicing helps maintain water quality, extends the lifespan of the system, and ensures all components are working correctly.
How Much Does Water Filtration System Servicing Cost?
The cost of servicing a water filtration system varies depending on the type of system, the filters required, and any replacement parts needed. Contact us for a tailored quote based on your specific system and maintenance requirements.
How Often Should a Water Filtration System Be Serviced?
Most water filtration systems should be serviced every 6 to 12 months. However, the recommended service interval can vary depending on water usage, water quality, and the type of filtration system installed.
How Do You Maintain a Reverse Osmosis Water Filtration System?
Maintaining a reverse osmosis system involves replacing filters and membranes as recommended, sanitising the system when required, checking for leaks, and ensuring all components are functioning correctly to maintain optimal water quality.
How Long Does a Reverse Osmosis System Last?
A well-maintained reverse osmosis system can last between 10 and 15 years or longer. Regular servicing and timely replacement of filters and membranes can significantly extend the life of the system.
How Often Should Filters Be Replaced in a Reverse Osmosis System?
Most reverse osmosis filters should be replaced every 6 to 12 months, while the membrane typically lasts between 2 and 5 years. Replacement schedules may vary depending on water quality and household water consumption.